 |
|||
 |
|
Greetings Comrade! Welcome to the Severinskaya Re-Education Center. Fear not. You are here to learn the true meaning of “quantity has a quality all its own.” Specifically, the techniques, skills and commitment that you, the noble painting class of the Glorious Soviet Union, will need in order to produce quantity. Moreover, time is of the essence. During your stay here you will also learn how to maximize the efficiency of the means of production.
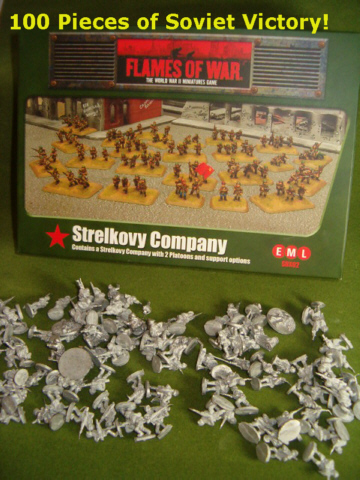
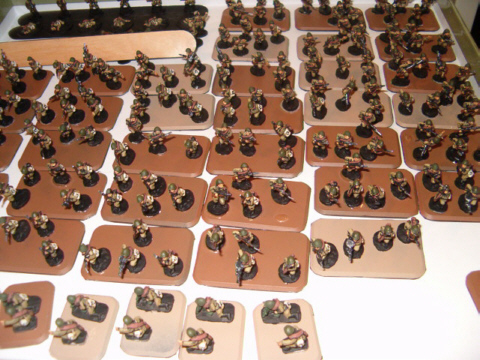
Many will quail at the thought of just how many production units are required to outfit a single Strelkovy Company. Take heart Comrade! With suitable re-education, you can produce an entire Strelkovy company in a mere 10 hours. 100 soldiers in 10 hours? That’s a mere 6 minutes each? Are we to spray paint them and send them off to fight the fascists?
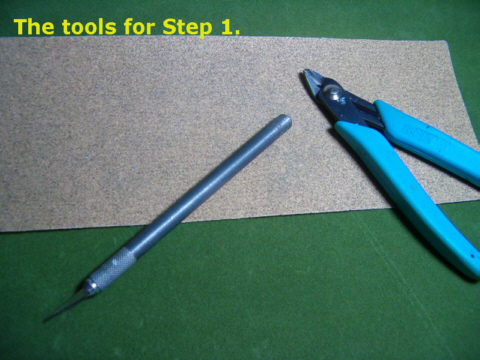
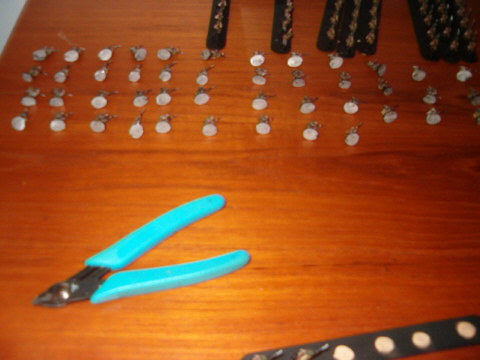
No brother! By focusing on essentials, and eliminating waste, we can deploy a respectable looking and (more importantly) deadly company in just a few evenings of hard work. Leave it to the bourgeois west to worry about beauty. Russia demands Victory! Commisar Severinskaya will now educate you on how to achieve this rate of production. 1. PREPARATION: Total Time: 90 Minutes Once you’ve opened the figures put them in a big pile and turn on some music. Now we prep the figures. We’re only going for the basics. Accordingly all we need – tools wise – are side-clippers, sandpaper and a hobby knife. Where is the file? We don’t need it – anything small or subtle enough to require a file is simply ignored. We want to remove any obvious flash and any of that foil-like excess but otherwise we move for speed.
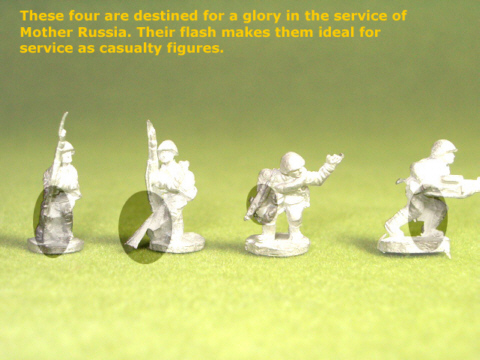
But what about filing off the mold lines on the helmets? Move on Comrade! But shouldn’t we… Move on Comrade! But what if we get a few soldiers like these?
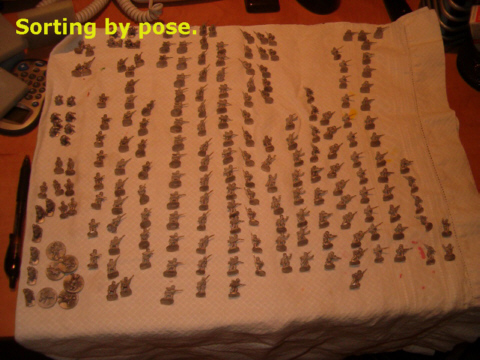
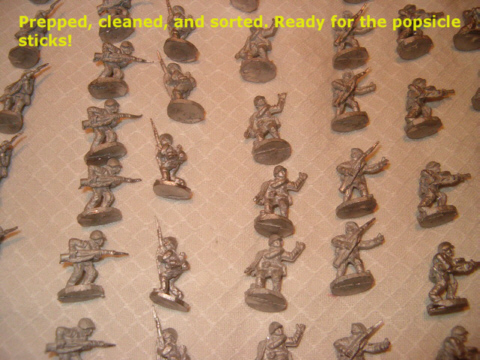
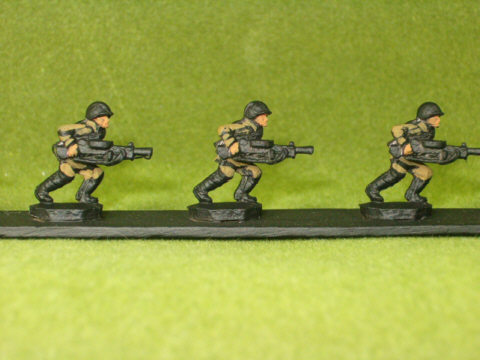
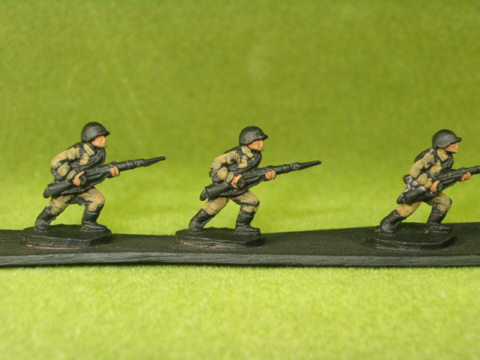
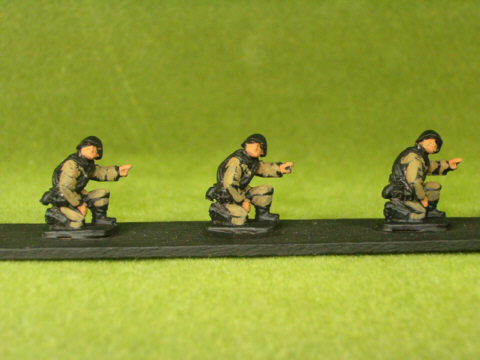
*krak* Sadly Comrade Painterevski simply could not embrace the true Socialist ideology. His dangerous influence has happily been halted before it could infest others. Soldiers like these become casualties (remove base and apply hammer liberally) or go to await a glorious death in the bits box! (Alternatively you could write to BattleFront and get replacements. If anyone’s reading I’d love some prone Soviets to make pinned markers with...) Then what is the sandpaper for? For filing the bases smooth. Use the side clippers to cut off any ridges/bumps but sand any rough bases smooth. This is important. The base must be smooth so our PVA will adhere when we mount them for priming and painting. Now relax and enjoy your favorite music. I am working on two complete Strelkovy boxed sets, plus a few extras. I found removing flash and sanding any rough bases took me about 40 minutes – so call it 20 minutes per set. Next, give your figures a bath. Make a small bowl of warm soapy water and drop the whole lot in. Then give them a gentle scrub with a toothbrush under running warm water and put into an empty bowl. Don’t bother to dry them. Just shake them off after they’ve been brushed and put aside. Again, this took me 30 minutes, so call it 20 minutes for one company (there’s a tad of set-up and clean-up time in there). Now get an old towel and lay it out. Now sort your figures by pose. Make rows of figures – each row made up of figures of identical poses. You should end up with a towel full of figures like this:
Don’t put them in piles. Putting them on the towel in rows absorbs a 80% of the water still on them. Sorting gets faster as you go, but allow 15 minutes. Up next: mounting!
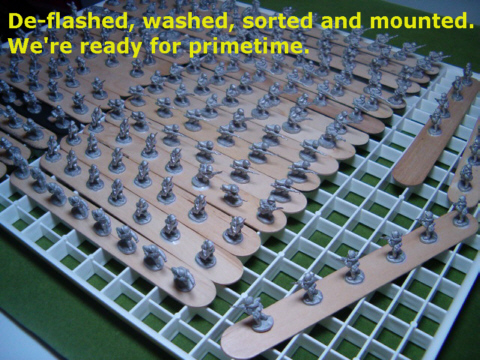
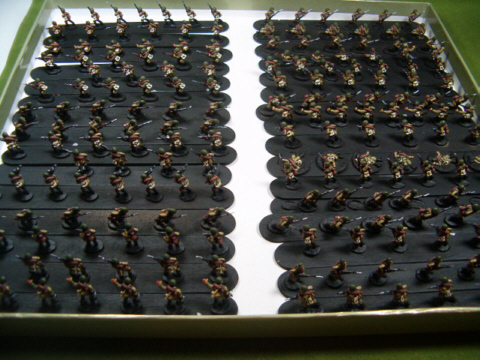
The key to mass production is making assembly line work possible. To do this you need to make...wait for it Comrade...an assembly line! In this case by mounting groups of figures to temporary work bases. You can use bits of wood, but I like tongue depressors. Popsicle sticks are too narrow to hold and I have had them “roll” on me resulting in figures popping off, chipped paint, etc. The wider sticks are easier to hold and much more stable. Basically anything not too heavy, and about 20mm wide by 150mm long. Avoid the temptation to use longer strips. They get heavy making it hard to work at each end. Now using PVA/white glue mount the figures to the strips. In general you want to limit each strip to 6-8 figures. Make sure there is enough space between the figures to reach in with a big brush. I find I can comfortably fit 8 figures that are standing straight (like officers) on one strip. Figures that lean, or have horizontal rifles require more space and I fit 6 per strip. Start with all of one pose. Then continue with the next. If you have to have two poses on one strip try to use similar poses. Otherwise you’re better off just having 3 or 4 on a strip and starting a new one. If you only have a few figures on a strip don’t spread them out along the whole length. Keep the same spacing as the 6 figure strips, just put them in the middle of the strip. One note on using PVA – use just a small bead and gently push the figure down into it. The pressure creates a seal which (this is why the flat base is important) helps it adhere and not “hydro-plane” in the glue.
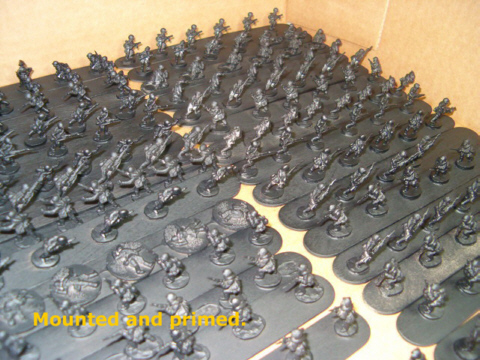
Since your figures are sorted, mounting takes no time at all – 15 minutes. Now put them aside to let your PVA dry. Allow 60 minutes before spray priming. It will not be dry, but it will be tacky enough for priming. Once dry spread the strips out on pieces of cardboard and spray prime black. Put them on the edge of the table you use and get one coat sprayed from underneath. It won’t get 100% of the undersides, but it will be close enough. Priming is fast – 20 minutes. Let your primer coat dry overnight. Total time spent on step one: 90 minutes
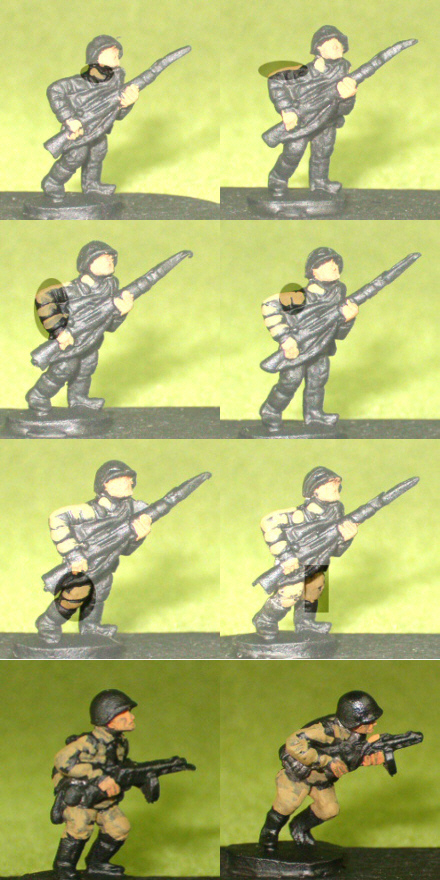
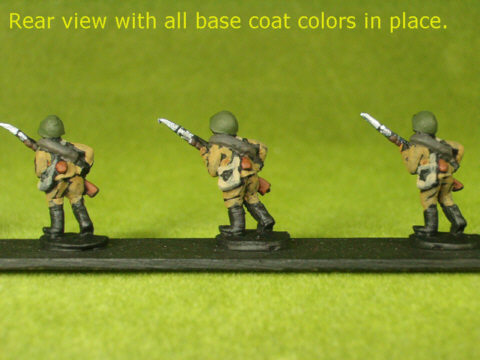
2. BASECOAT: Total Time: 5 Hours Where to begin? With some advice on technique. Specifically brush control. Now, there is one kind (that I have yet to master) that lets you put straight piping on a 15mm collar. That’s not what we want here. All we want here is a stable brush platform. So here is how I handle my brush to get the best blend of control and comfort. Elbows on the table I hold the stick of figures in my left hand. Thumb in front, fingers to the rear. I can just move the stick from left to right (like a typewriter carriage) with just the left hand. My fingers do a kind of crab-walk that moves the stick. Brush in my right hand. As I paint both lower palms touch. My left hand supports the right. Here is an important key to really obtaining peak production! Paint two strokes at a time. What I mean is, the temptation is to paint all of one color on one figure then move on to the next. This is actually very slow. Instead, paint two or three strokes on one figure and repeat those same strokes on every figure. So for example, on this figure’s uniform, I start with two strokes. I dab the collar, then paint the top of the right arm. After every figure has gotten these two, I pick a new pair of strokes. In this case three parallel stripes to finish the forearm. Next each figure gets two down-strokes to finish the right arm. Next the right leg gets two strokes – one across the knee, one just below. Then the left leg gets two big strokes as well. Once all the uniform on the front is done I turn the stick around and repeat the process on the back. You can see examples - and finished pieces - below.
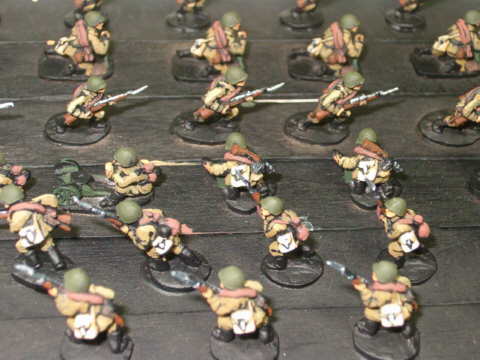
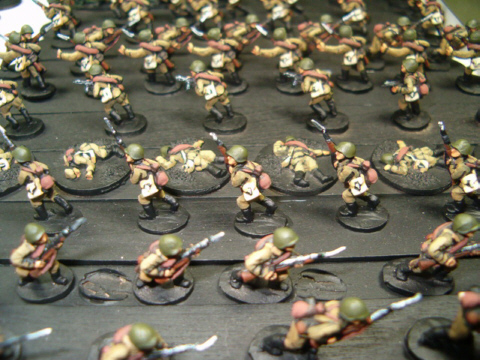
I like to paint the faces and hands first. It turns the nameless horde into a recognizably human horde. I use Vallejo 929 Light Brown for the flesh basecoat. Use a big brush with a good tip. I know lots of the “hot to” photos have these wonderful tiny brushes all the time. But I personally use a #2 round for this step. Basically you want the brush to be about half as wide as the face. I find it fastest to paint all the faces on one stick, then all the left hands followed by the right. Move quickly but carefully. Once you’re done with the flesh basecoat, it’s time to open the big jug of Vallejo 880 Khaki Gray. This is the basic uniform color for your army. You will definitely want to add dry retardant to your paint to keep it from drying up on you as you work. This will take a long time. I suggest you aim to do half, take a break, then finish up the other half. Give your paint a stir about every 20 minutes. Here is what some of your troops now look like:
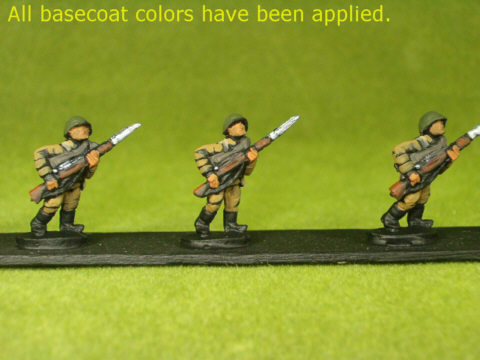
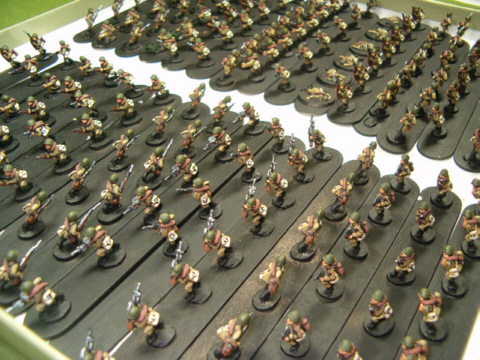
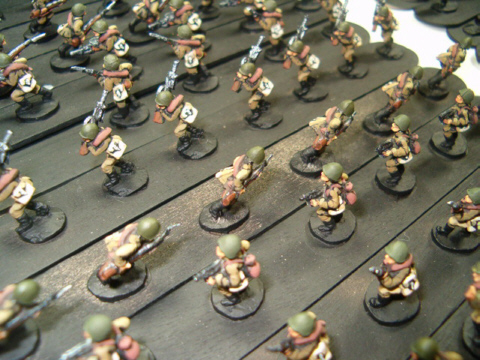
You can see where we’re going here, right? After this you basically lay down the base color for your army one color at a time. Steel for rifles, green helmets, brown rolls, etc. I find the base colors take about 5 hours, broken down as follows: Flesh: 45 minutes Uniforms: 90 minutes Helmets: 10 minutes Blanket rolls: 30 minutes Rifle butt, entrenching tool, waistbelt: 45 minutes Breadbag, backpack, canteen: 45 minutes Webbing, straps: 20 minutes Rifle barrels: 15 minutes Bayonets (I like to use bright silver): 5 minutes At this point you have spent a grand total of 6.5 hours on your troops. Realistically you could now base them up and go to war. But I prefer to put in a few extra hours and really make them more than mere conscripts. So the next step is the highlighting. Here’s what your troops look like at the end of Step 2:
One further note: I have applied one layer of highlighted color to the rifle. The base coat is Model Master Panzer Chocolate brown. My base color for the canteen is dark brown. This is the same color as I use to highlight the rifle. With careful planning you can actually combine steps two and three and save as much as an hour. I don’t do this more only because I think using lots of slightly different colors really helps the minis look like they took a lot more work than they really did. Finally, you will notice I have not applied a base coat to a few items, like the rifle strap, belts, etc. Again this saves time - the base coat will be the same color as another item’s highlight. It is faster to do a given color just once. 3. HIGHLIGHTS: Total Time: 2 Hours Start with the flesh again. Again, concentrate on doing pairs of brush strokes on each figure. For hands, a stripe of flesh along the back of the hand and a quick drybrush along the fingers is all you need. For the faces I use what I call the “T and V” technique. Start by painting a T on each figure: across the forehead and down the nose. Then paint a V. Each arm of the V starts at an ear and ends at the chin. With some care you can finish this in 20 minutes. With the helmet I even omit the top of the “T” on most of the figures. For the uniform, mix a nice batch of highlight color (I found a nice craft paint that works perfectly – Delta Ceramcoat Lt. Timberline Green). All you’re doing with this is hitting the very topmost surfaces – the tops of arms for example, with a quick stroke. Figures should never really get more than three highlights. This is actually a very fast process – about 15 minutes. Now I highlight my brown items – backpacks, canteens, rifle straps. One stroke each, which only takes about 15 minutes. The bread bag is next. I take my time here so that that the line between the bag and the flap stands out. This detail really makes the figure look good. Allow 20 minutes. I use a different brown for the roll (sometimes I even do them in gray or khaki, just to break up the monotony). They generally get two big brush strokes of highlight – one front and rear. And a quick drybrush on the ends where they are tied together (I don’t paint the cord used to tie the ends together). Here they are Comrades. A loud Socialist welcome to our newest recruits!
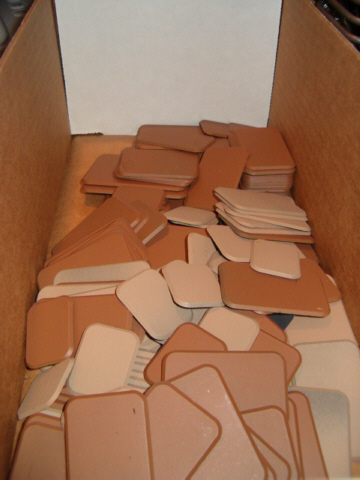
4. BASING: Total Time: 1.5 Hours Basing is quick and easy, but needs a lot of drying time. Realistically I do my basing in four short sessions. One note on my bases. I spray paint these - again, en masse - with any brown spray paint I happen to have handy. I also line each base with magnetic material for transport and storage. I buy the self-adhesive magnetic sheeting, peel off the backing and lay my bases down. Then I cut them apart and trim them with sharp scissors. The edges of the magnetic sheeting get covered up during the basing process. I even mount a steel plate under my vehicles so they behave during transport.
Session 1 is gluing the figures to the bases. I just deal the figures out – I do not spend any time picking and choosing which poses go where. As I remove the figures I lay them across my desk. I lay out as many columns as I need bases and just put the figures down in a row. This assures me I will not have two of the same pose on one stand.
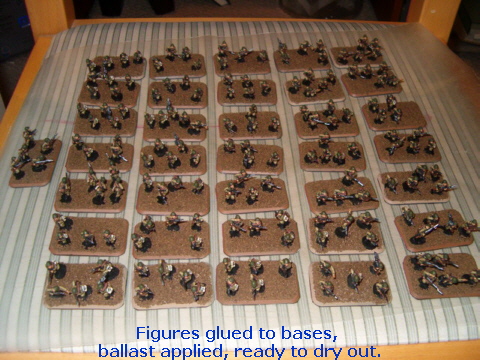
I lay out all my bases. Then I put big drops of super-glue in a variety of patterns and put the figures on (I work on 3 or 4 bases at a time – any more and the super glue dries up before you get the figures mounted). Be sure to use a wide variety of patterns. Don’t be afraid to have “unbalanced” stands where all the figures are on one side.
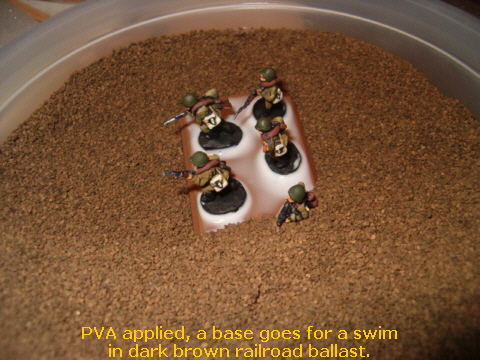
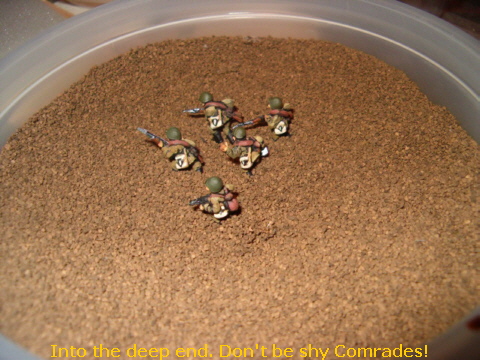
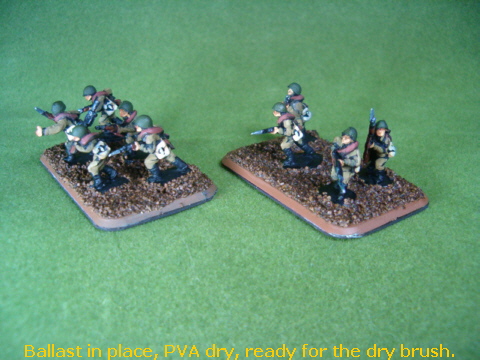
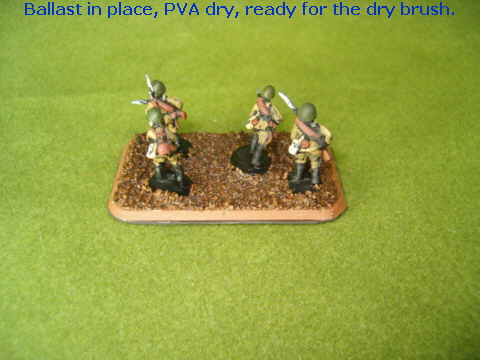
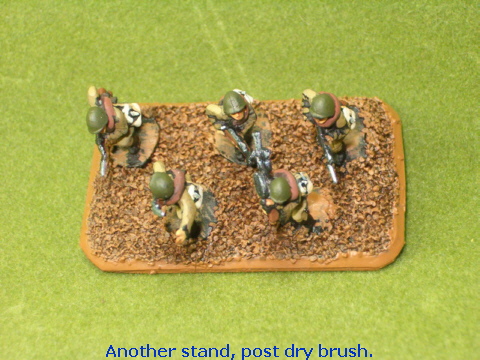
By the time you finish the last base, the first should be dry enough to work with. I have a jar of thinned PVA. This mix is still fairly thick to give the ballast a good grip on the base. I mix white glue and water about 1:1. I brush a good thick layer on PVA on the stand, up close to the figures boots. The stand then gets dipped in a big bowl of railroad modeling “ballast” or colored gravel. I use a very dark brown (this saves me from having to paint it). This usually takes about 45 minutes.
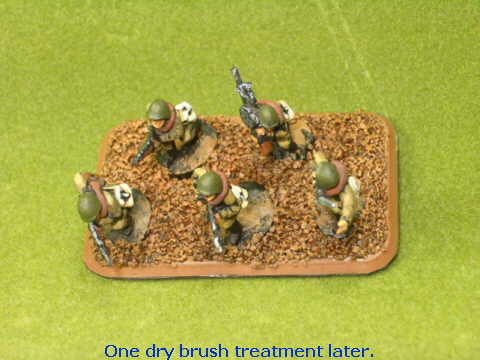
In Session 2 I dry brush the ballast. I do just one pass of medium brown (in this case Howard Hues Geo-Hex Brown - roughly the same as Vallejo 977 Desert Yellow). Then I set the bases aside to dry, 5-10 minutes will do fine. Dry brushing takes about 10 or 15 minutes. If your PVA from step 1 is too thin, you’ll have lots of loose ballast coming off at this point. Don’t panic! You should be using a really cheap craft brush for the dry brushing anyway. Just “paint” that loose ballast right back on.
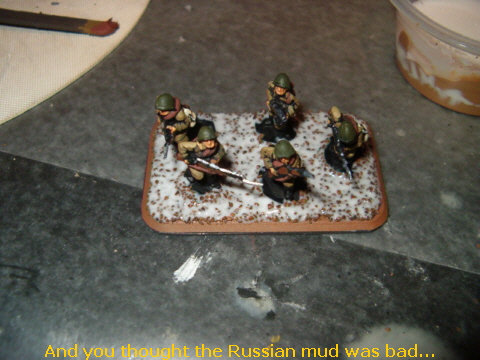
In Session 3 they all get a coat of PVA over the top of the ballast. This is a much thinner mix - perhaps 2 parts water to 1 part glue. If the mix is too thick as you brush it on you’ll start pulling up even more ballast. It should flow into the cracks. You’ll need a good couple ounces of this mix as ballast tends to absorb quite a bit. That’s why it can be a pretty thin mixture - the ballast will absorb a lot more than, say, sand. Lay it on nice and heavy – it should look milky. Don’t worry, it dries clear. Slop it on over boots, get it in all the tight spaces between the figures. You should dab it, not brush it on. If you brush it on in strokes you’ll end up pushing the ballast loose. This can usually be done in 10 minutes. Let it get good and dry - overnight preferably.
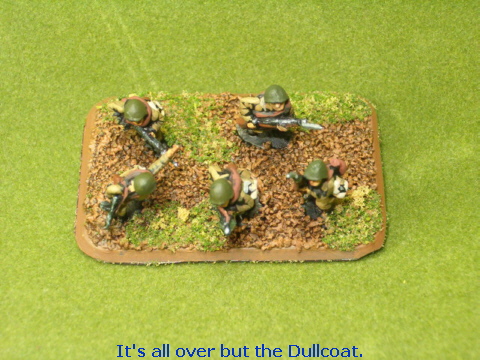
Session 4 is adding grass. Again, I have a big tub of pre-mixed flocking material. I like a mix of greens and yellows to give a wild, dry look (I hate fighting on a putting green!). I paint random patterns of PVA on the bases and then dip. If you have loose clumpy bits, use the end of your paintbrush to gently tamp them down into the glue so they’ll hold. Flock also helps cover the bases of the figures. Any mistakes made in earlier stages get fixed here. Places where the dry brushing looks lousy, or a figure base is showing too much just gets covered up. Adding the grass takes about 15 minutes.
Once the grass is down they go to my holding area for spray work (I can’t spray indoors, so I have to wait for good weather). A typical spray session will last an hour or two during which I’ll prime a couple armies, and dull-coat one too. I use Testor’s Dull Coat and give them a very heavy dose. Typically I give them two very thorough coats, followed by two lighter coats over the tops (where players will handle them most). It only takes 5 minutes to spray the army. Once dry, they are ready to be join the army:
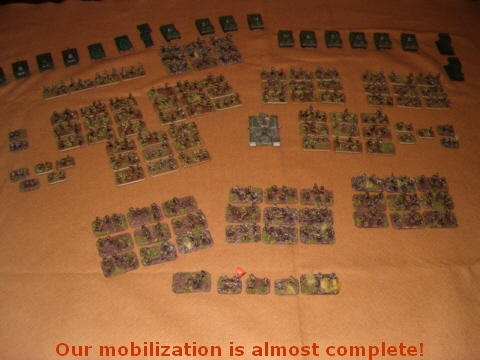
The infantry is almost done now. All I have left is one SMG platoon, one Scout Platoon, one Sapper Platoon and the Battalion HQ. Now all I need is a way to paint artillery and AT guns quickly!
|
 |
