 |
|||
 |
|
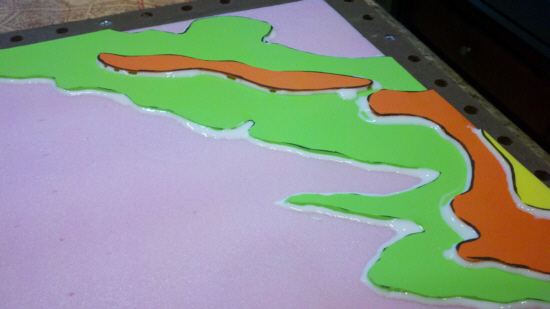
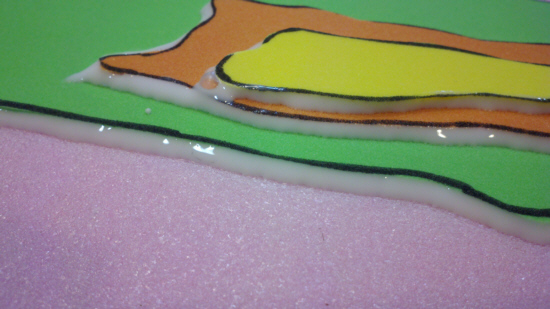
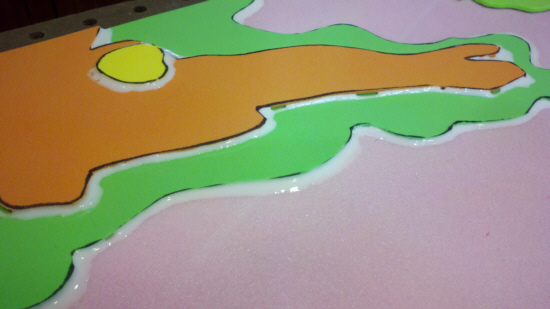
Having completed the major cut out terrain levels, I needed to glue it down firmly in place, seal all the foam edges, and generally prep it so that I can prime and paint and begin the final modeling. My first step is to apply a bead of white glue around all the edges of each cut out piece. This will glue the edges down, act as a sealant, and generally tighten up the whole board. So I break out my Elmer’s and get busy. This takes a surprisingly short time. I let this dry out on the deck in the sun for a couple hours, then mix up a batch of scenic cement. I go with a mix of 1 part water to 3 parts cement. I put it in a spray bottle and give the board a good coat. And again I let it dry in the sun for a few hours.
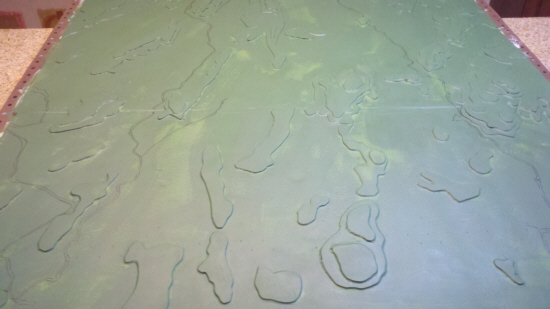
The next step is to apply a coat of primer. For this I use normal house paint primer and stain blocker. This will help cover up some of the more gaudy colors of foam I used. Apply with a 3” brush, making sure to get the edges of all the layers. Again, let dry for a couple of hours. I took a picture but a big white square is not much to look at. On with the story. I rummaged through my craft paint looking for a nice jar of green to give the board a base coat. That way if I miss a spot with flock or trees, it won’t show. Eureka! I find one jar and a half of Ceramcoat “Seminole Green.” I pull out my 3” brush again and give the entire board a coat. Turns out I almost have enough for two coats - a quick trip to Michael’s for another jar. Two coats of green later gets you this:
You can still see some seams and indentations in the pink board. No problem. Since I’ll be applying flock, lichen, etc. to replicate fields, woods and so on, that will all get filled in without a problem. Next up, adding Willoughby Run and Rock Creek.
|
|
[Home] [How To] [Gettysburg: Pocket Scale] [Terrain Prep] |
 |


