 |
|||
 |
|
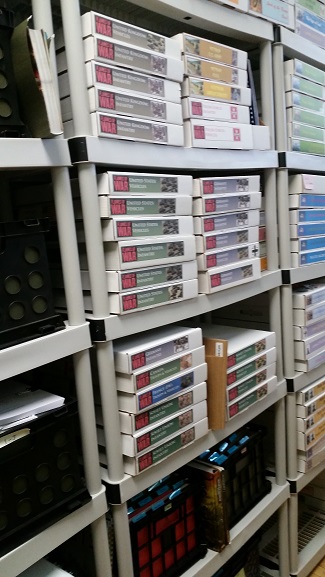
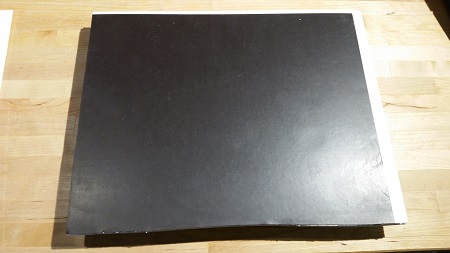
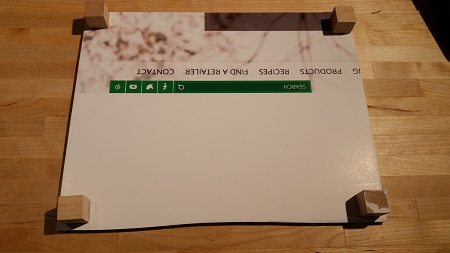
One of the common problems to any hobby is stuff. Specifically, the need to find places to store it all, and a way to keep it organized so you can find your stuff. Elsewhere on the web I talk about my system and then get asked for more details. So, here it is in full. It starts with my plastic shelving units. These are 6’ tall, 3’ wide and readily available at big box stores like Home Depot. The units I buy are 18” feet deep. So starting with this footprint, I decided I wanted storage boxes that would use these shelves efficiently. So I needed boxes about 12 x 18”. The search for boxes led me to Uline.com They are an industrial supplier of boxes, warehouse equipment, cleaning equipment etc. Retail stores sell boxes as well but often change their sizes. I wanted a source I could get the same box from reliably, The second need was for my miniatures to be safe during transport. I travel to most of my games, and my wife’s career means relocating every few years is the norm. I went with steel bases and sheet magnet. Since I was doing a lot of troops, I went for magnet in bulk from MagnetKing.com For magnet I bought a 25’ roll and just used it up as I went. I had MagnetKing trim it to 17.5” wide (make sure you tell them you want the offcut!). Sure I could do it but the convenience was worth the fee. By mounting all my miniatures on steel and lining the boxes with magnet, I had a simple, flexible storage system. The steel/magnet system is even strong enough to survive a move. It has the added benefit that making movement trays from sheet magnet is super fast, cheap and easy. Steel bases are also very thin, and avoids the look of troops wandering around on soap boxes. In many cases you can fit two layers of troops inside a box. To take advantage of that space, I make removable inserts. Basically it’s just a piece of foam board or cardboard cut to size. On top goes more sheet magnet, underneath go wooden cubes for legs. Once all the troops are safely secured inside, I make a label using Powerpoint. I print the tag out on sheet labels, peel, and stick to my box. I like to use fonts and colors to differentiate various periods and armies. Then the box goes on the shelf where it can be easily found any time. The same logic applies to scenery and terrain as well. A picture of the shelving unit:
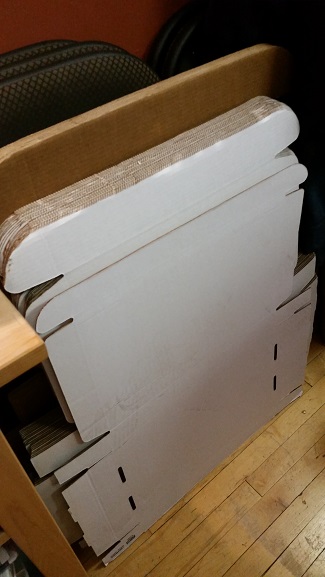
Here is a mailer as they get shipped from Uline:
Here is an insert - top side with sheet magnet...
And the underside showing the wood cube “legs”
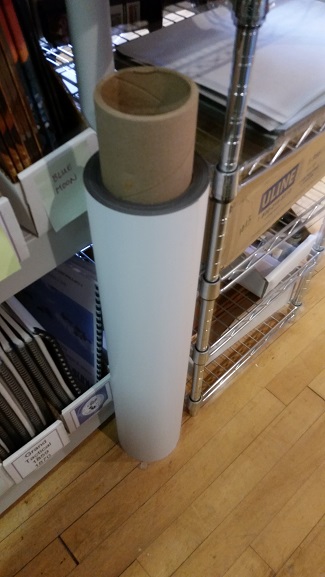
A roll of sheet magnet ready for use...
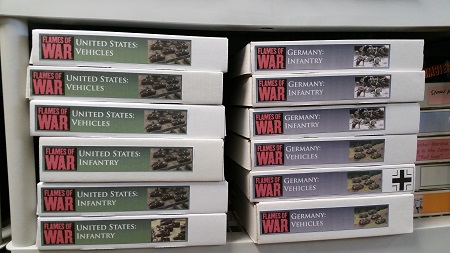
And a close up of some finished Flames of War boxes:
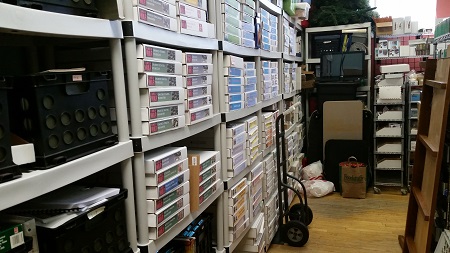
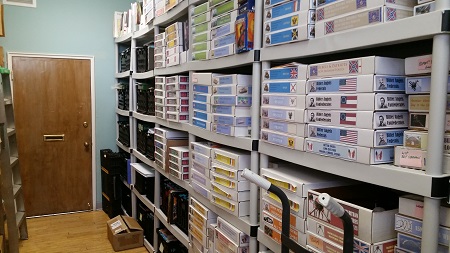
And finally, the money shot: two views of the collection:
|
 |
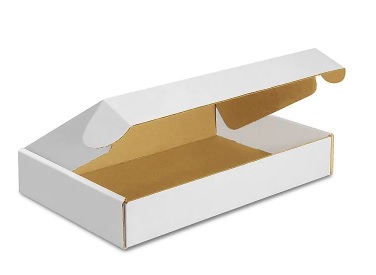 and they had just what I needed. They call them “Media Mailers” and they come in a 12 x 18” footprint in multiple heights. They also sell a 9 x 12” version so this gives me a consistent footprint. This makes things very compact and tidy.