 |
|||
 |
|
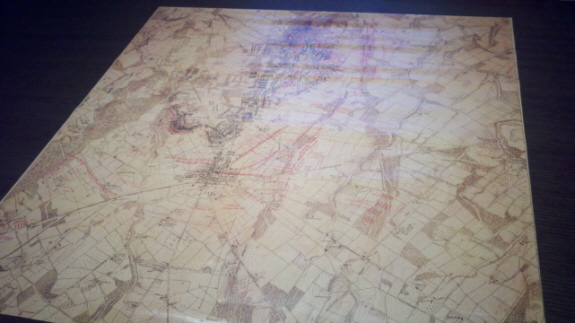
The first step in planning the game board was to get a map of the battlefield. Fortunately Gettysburg is one of the most studied battles in history, and not only are maps easy to find, you can still visit it today! I picked the Batchelder map. I had it scaled down and printed at a local sign shop on to heavy vinyl. this map is a highly detailed topo map with every fence, building, road and track marked. While it doubtless contains a mistake or two as all maps do, given the scale at which my game takes place, these would not really matter at all. Here is a quick shot of my starting map:
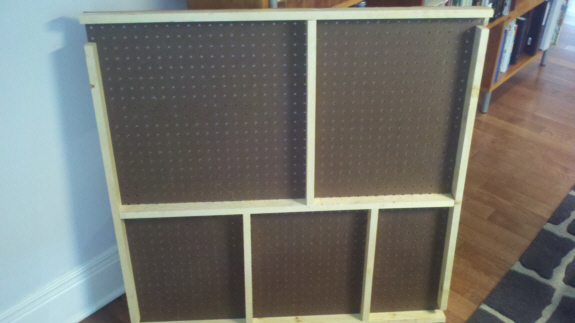
Having it made of a durable material, I’ll be able to hang it near the game. I think this is the kind of game that would be a great way to introduce new blood into the hobby (though I’ll need some grossly simplified rules like the Battle Cry boardgame for that). At 1cm = 100 yards the entire battlefield fits on a 38” square board. This is perfect for the application I have in mind: running demonstrations of my ACW rules in a booth at a convention. Since it will be a dedicated game board, it will also be a game I can pull out and run at a moment’s notice. Especially handy because there are almost no troops on the table at the start of the game! Talk about quick set up! The board itself should present no serious challenges. I have made a simple table using a piece of perforated hardboard, some 1x2 lumber, and a couple pieces of 1/4” thick pink insulation board. This gives me a relatively light yet rigid base. The underside is braced for strength and rigidity. Here is a shot of the underside:
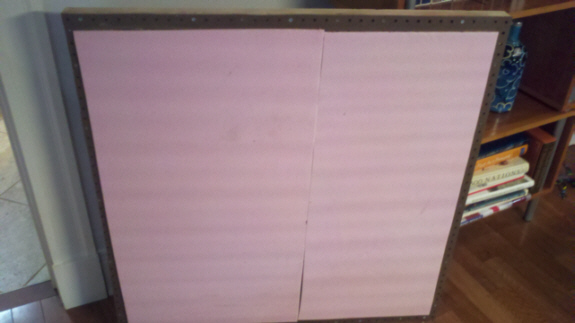
I cut the struts and then used wood glue and 1” screws to hold it in place. I let this dry for a few hours (we actually had a day of warm, sunny weather yesterday - a great day to get outside and get this started!). Then I glued down the pink board. At our local DIY warehouse they sell the infamous “pink board” in a folded package designed for garage doors. It cost about $30 but game me more than enough pink board to do a couple dozen projects this size. Best of all, the board is just 1/4” thick, so is also great for making terrain pieces. Here is a shot of the base with the pink board glued in place. I glued it down with wood glue and left it to dry overnight with books piled on top.
Now that I have the base ready, it’s time to draw the major terrain features on the pink board. But that’s Step 2....
|
|
[Home] [How To] [Gettysburg: Pocket Scale] [Board Building] |
 |


