 |
|||
 |
|
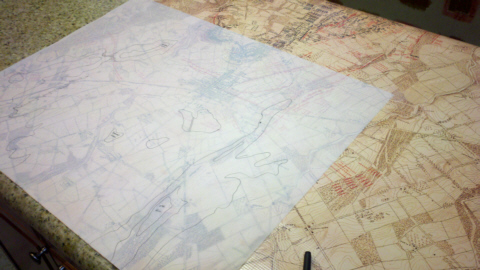
Step 2 consists in converting my printed map into a 3-D map of the battlefield. My first issue is what material to use? The pink board I have at 1/4” thick is too thick for the scale of the game. This is eastern Pennsylvania, not the Tyrol. Craft foam is suggested and at first I worry it will be too soft. But I decide no one will be leaning on the table itself so it will probably hold up. At Michael’s I find a nice big pack of 2mm thick foam sheets. Armed with my foam and a big pad of tracing paper, I’m ready. First I need to trace the ridges and hills that will form my map:
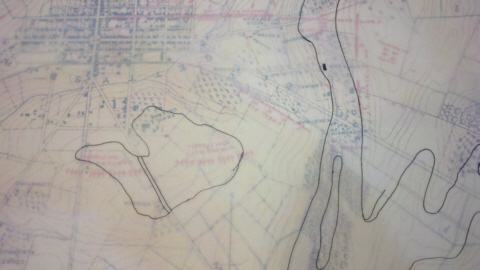
Tracing the topographic lines requires a little artistic license. Hills and ridges don’t start and end like typical gaming terrain. They flow one into another. So I have to make somewhat arbitrary decisions about where the edges of these things are. By looking at simplified maps, wargame maps and so on, I pick the lines I’ll use. In some cases I fudge them to simplify the shapes a bit. Tracing in progress:
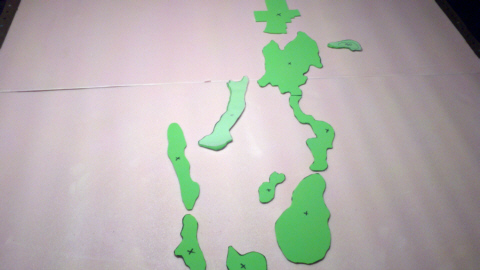
Once I have traced a shape, I cut it out and trace it again on my craft foam. I use a sharpie and just outline it. Then a quick snip of the scissors and I have my first terrain level ready for the game board. I started with the features in and around the town itself. They are generally smaller and easier to identify - not to mention that they make the battle instantly recognizable. Here is a shot of the board with the first few terrain pieces tacked into place using Aleene’s Tacky Glue:
Top to bottom you see Gettysburg, Cemetery and Culp’s Hills, and the Round Tops. To the west you see Warfield’s Ridge and the Devil’s Den. Last night I traced the hills and ridges at the north end of the map. Tonight I’ll finish tracing the major elevations - notably Seminary Ridge, get them cut out and glued in place. Once that is done I will have my first elevation level. Then it will be a quick matter to cut out elevations 2 and 3 (I’m limiting the board to just a few elevations), and get them all in place. Once that is done, and I’m happy with the placement of all the pieces, I’ll glue them down for good. And that will lead us to Step 2a.... |
|
[Home] [How To] [Gettysburg: Pocket Scale] [Drawing The Map] |
 |


