 |
|||
 |
|
All right, I’ll come clean. This is not an article on how to make a jaw-droppingly beautiful game table. Instead, it shows a quick and dirty way to make a large scenario-specific game table quickly and cheaply. The genesis came from wanting to be able to have an “out-of-the-box” scenario for conventions that was easy to store, transport and set up. Pick Your Ground Carefully The first step was finding something to act as a base. The famous “pink board” is cheap, easy to work, lightweight, and readily available. But it is bulky making it hard to store and transport. Felt is a common option but having gamed on felt it (a) is hard to paint and (b) snags quite a bit. And I wanted something in a single piece, heavy duty and, let’s face it, cheap. The answer: a canvas drop cloth. I picked up a 6’ x 9’ heavy duty drop cloth at my local DIY store for just under $7. Of course few battlefields feature a raw-canvas ground cover. So while I was there I picked up a gallon of basic green house paint, and a plastic drop cloth. I headed for home ready to recreate my chosen battlefield: Salamanca. I also added four quarts of terrain colored paint. A dark brown for roads and hills, a golden yellow brown for highlighting said roads, blue for streams, and a dark green for forests. When shopping for house paint, shop on price. Get the cheap stuff. Total DIY bill: $48 and change. Lay the Groundwork This looks to be the easiest part. Lay the plastic drop cloth out on the patio and break out your favorite roller. Then just paint the canvas green. I used fully half a gallon, because the drop cloth acts like a sponge and absorbs quite a bit of paint. Here’s how it looks:
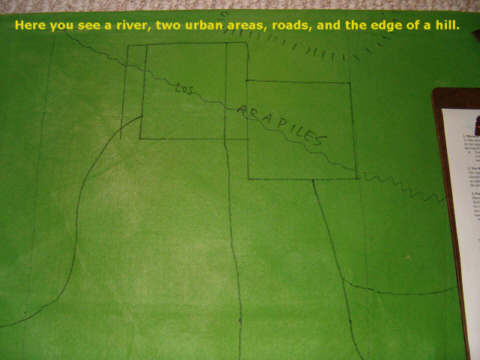
I admit that while this green is perfectly acceptable is is perhaps a tad on the bright/yellow side. Well, we soldier on with our experiment. Once dry (I made mine in the summer and it dried in about 2 hours) drag inside to a more comfortable working area. In my case, the basement. Draw the Plan If you are making a scenario specific mat, you’ll need to mark out the grid on your canvas. Don’t try to draw all the lines, just mark the corners of each square. I found a carpenter’s pencil worked just great. Once you have the squares laid out, simply transfer your scenario map to the painted canvas. I used a Sharpie pen to draw my terrain (it will get covered over with plenty of house paint, so no worries about it showing through - I hope). Here you can see a few terrain features already on mine:
I found it easiest to work on half of the map at a time. Mostly because my basement is small Finish the Plan Sketch in your entire map. Of course, if you are not doing a scenario specific map, just draw whatever comes to mind. But you will probably want to start from a small-scale drawing in any case. Double check that you have all the roads and terrain in the right relationship to each other. It is easy to fix now, much harder later!
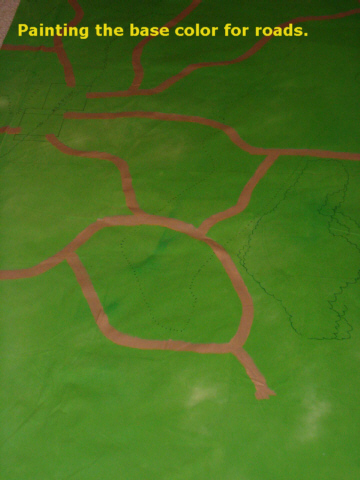
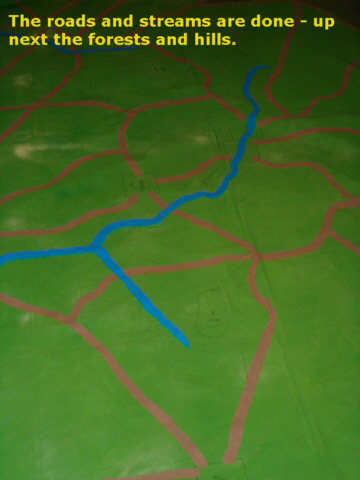
Build the Roads, And They Will Come My map has an extensive road network, so I have decided to start with them first. I use ordinary brown housepaint (these are dirt roads) and a 1” brush. I lay down a neat, solid line of paint along all of my hand drawn roads. Pay attention to whether or not the road goes over the stream (bridges) or not (fords)! Again, owing to space constraints I work on half at a time. Here is the beginning of my road network:
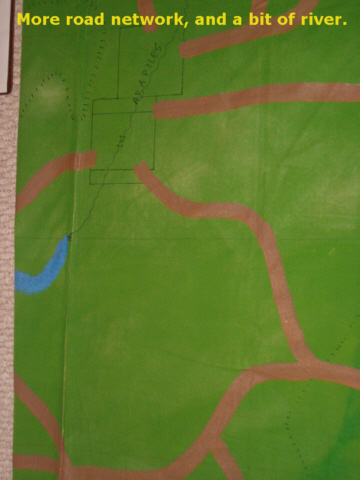
Here’s a bit more with a bit of stream showing.
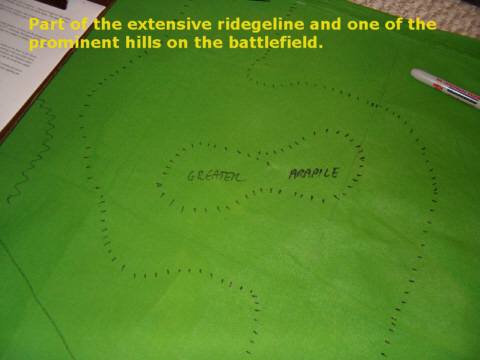
Rivers, Forests, and Hills, Oh My! I added the rivers and streams next. For this I used simple blue paint. I know, rivers are green or brown or anything but blue. Well, in my world water is blue. I used dark blue for the base (I made light blue to dry brush with later by adding in white house paint I already owned). Then came the forests (not many and mostly in the corners). Finally I painted in the hills and ridges using parallel “hash” marks. Here is what the mat looks like so far:
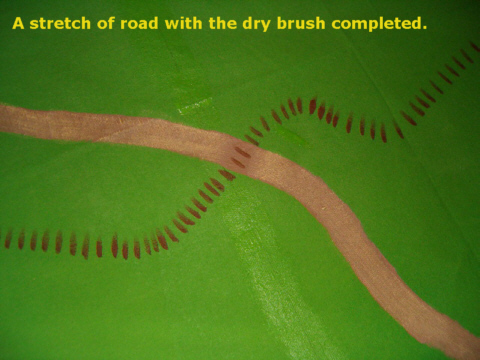
A Little Touch Up To add at least a little depth to the mat, I dry brushed the roads and streams. I used the same 1” brush and just used a golden brown for roads and a home mixed light blue for the streams. Now they look like this:
I paint forest areas in dark green. This not only adds color but it eliminates the need for forest bases - no more arguing over where the tree line is! Just drop your trees down and go! This way if a tree is in the way just move it elsewhere. This is especially important with a game like Grande Armee where the bases are large (most units are on 3” squares). Plan For the Future I did consider that I might want to make custom hills for the scenario. So I made wax paper templates in case I should ever get the urge to add a 3rd dimension to the table. Besides a large, main ridge, there are a few other small hills on the map. I did actually already own some hill pieces that fit just right. Here you can see the wax paper templates in production:
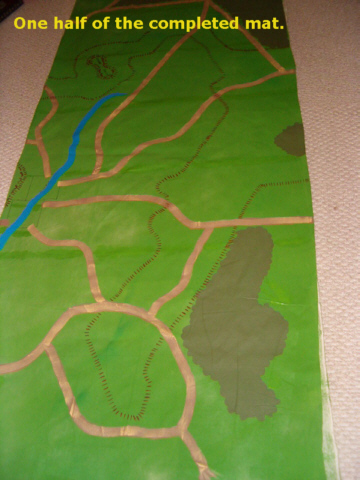
The End Result Here is one shot of how it looks when completed. I have one small terrain box containing trees, a few hills and villages (in this case each village is a 4” square).
Now What? One of the obvious drawbacks of a scenario-specific game mat or board is that it has limited application to other games. However, in this case I have quite a bit of flexibility. I can fold it down to create a wide variety of 4’ x 6’ configurations for smaller scale games like Flames of War. Plus, you can simply add additional hills, forests, towns, etc. If you don’t like where a painted forest area is, declare it a field or anything else suitable. Streams can be mighty rivers or little streams. Just redefine the terrain to suit your game. How Does It Look? In future I hope to add a few photos of the mat i use. I can honestly say that, covered in towns, trees, and miniatures, it looks quite respectable. I may also decide to add some scatter and flocking to various areas just to break up that sea of green. But having now played on it three times, I’m thinking that extra step is definitely chrome and not basic requirement.
|
 |


