 |
|||
 |
|
I have always been intrigued with the idea of a small, portable miniatures game. The “Commands and Colors” games using wooden blocks and terrain tiles come kinda close. I’ve long thought about a miniatures game in a box such that you could pick up one box and go, and have everything with you: rules, figures, dice, terrain, rulers, etc. Now that the family downsized from a 4 bedroom house with full basement to a 2 bedroom condo, space is at a super premium. So a game that can be folded up and put away in a tiny space would be ideal. I had a number of criteria for the project before I started:
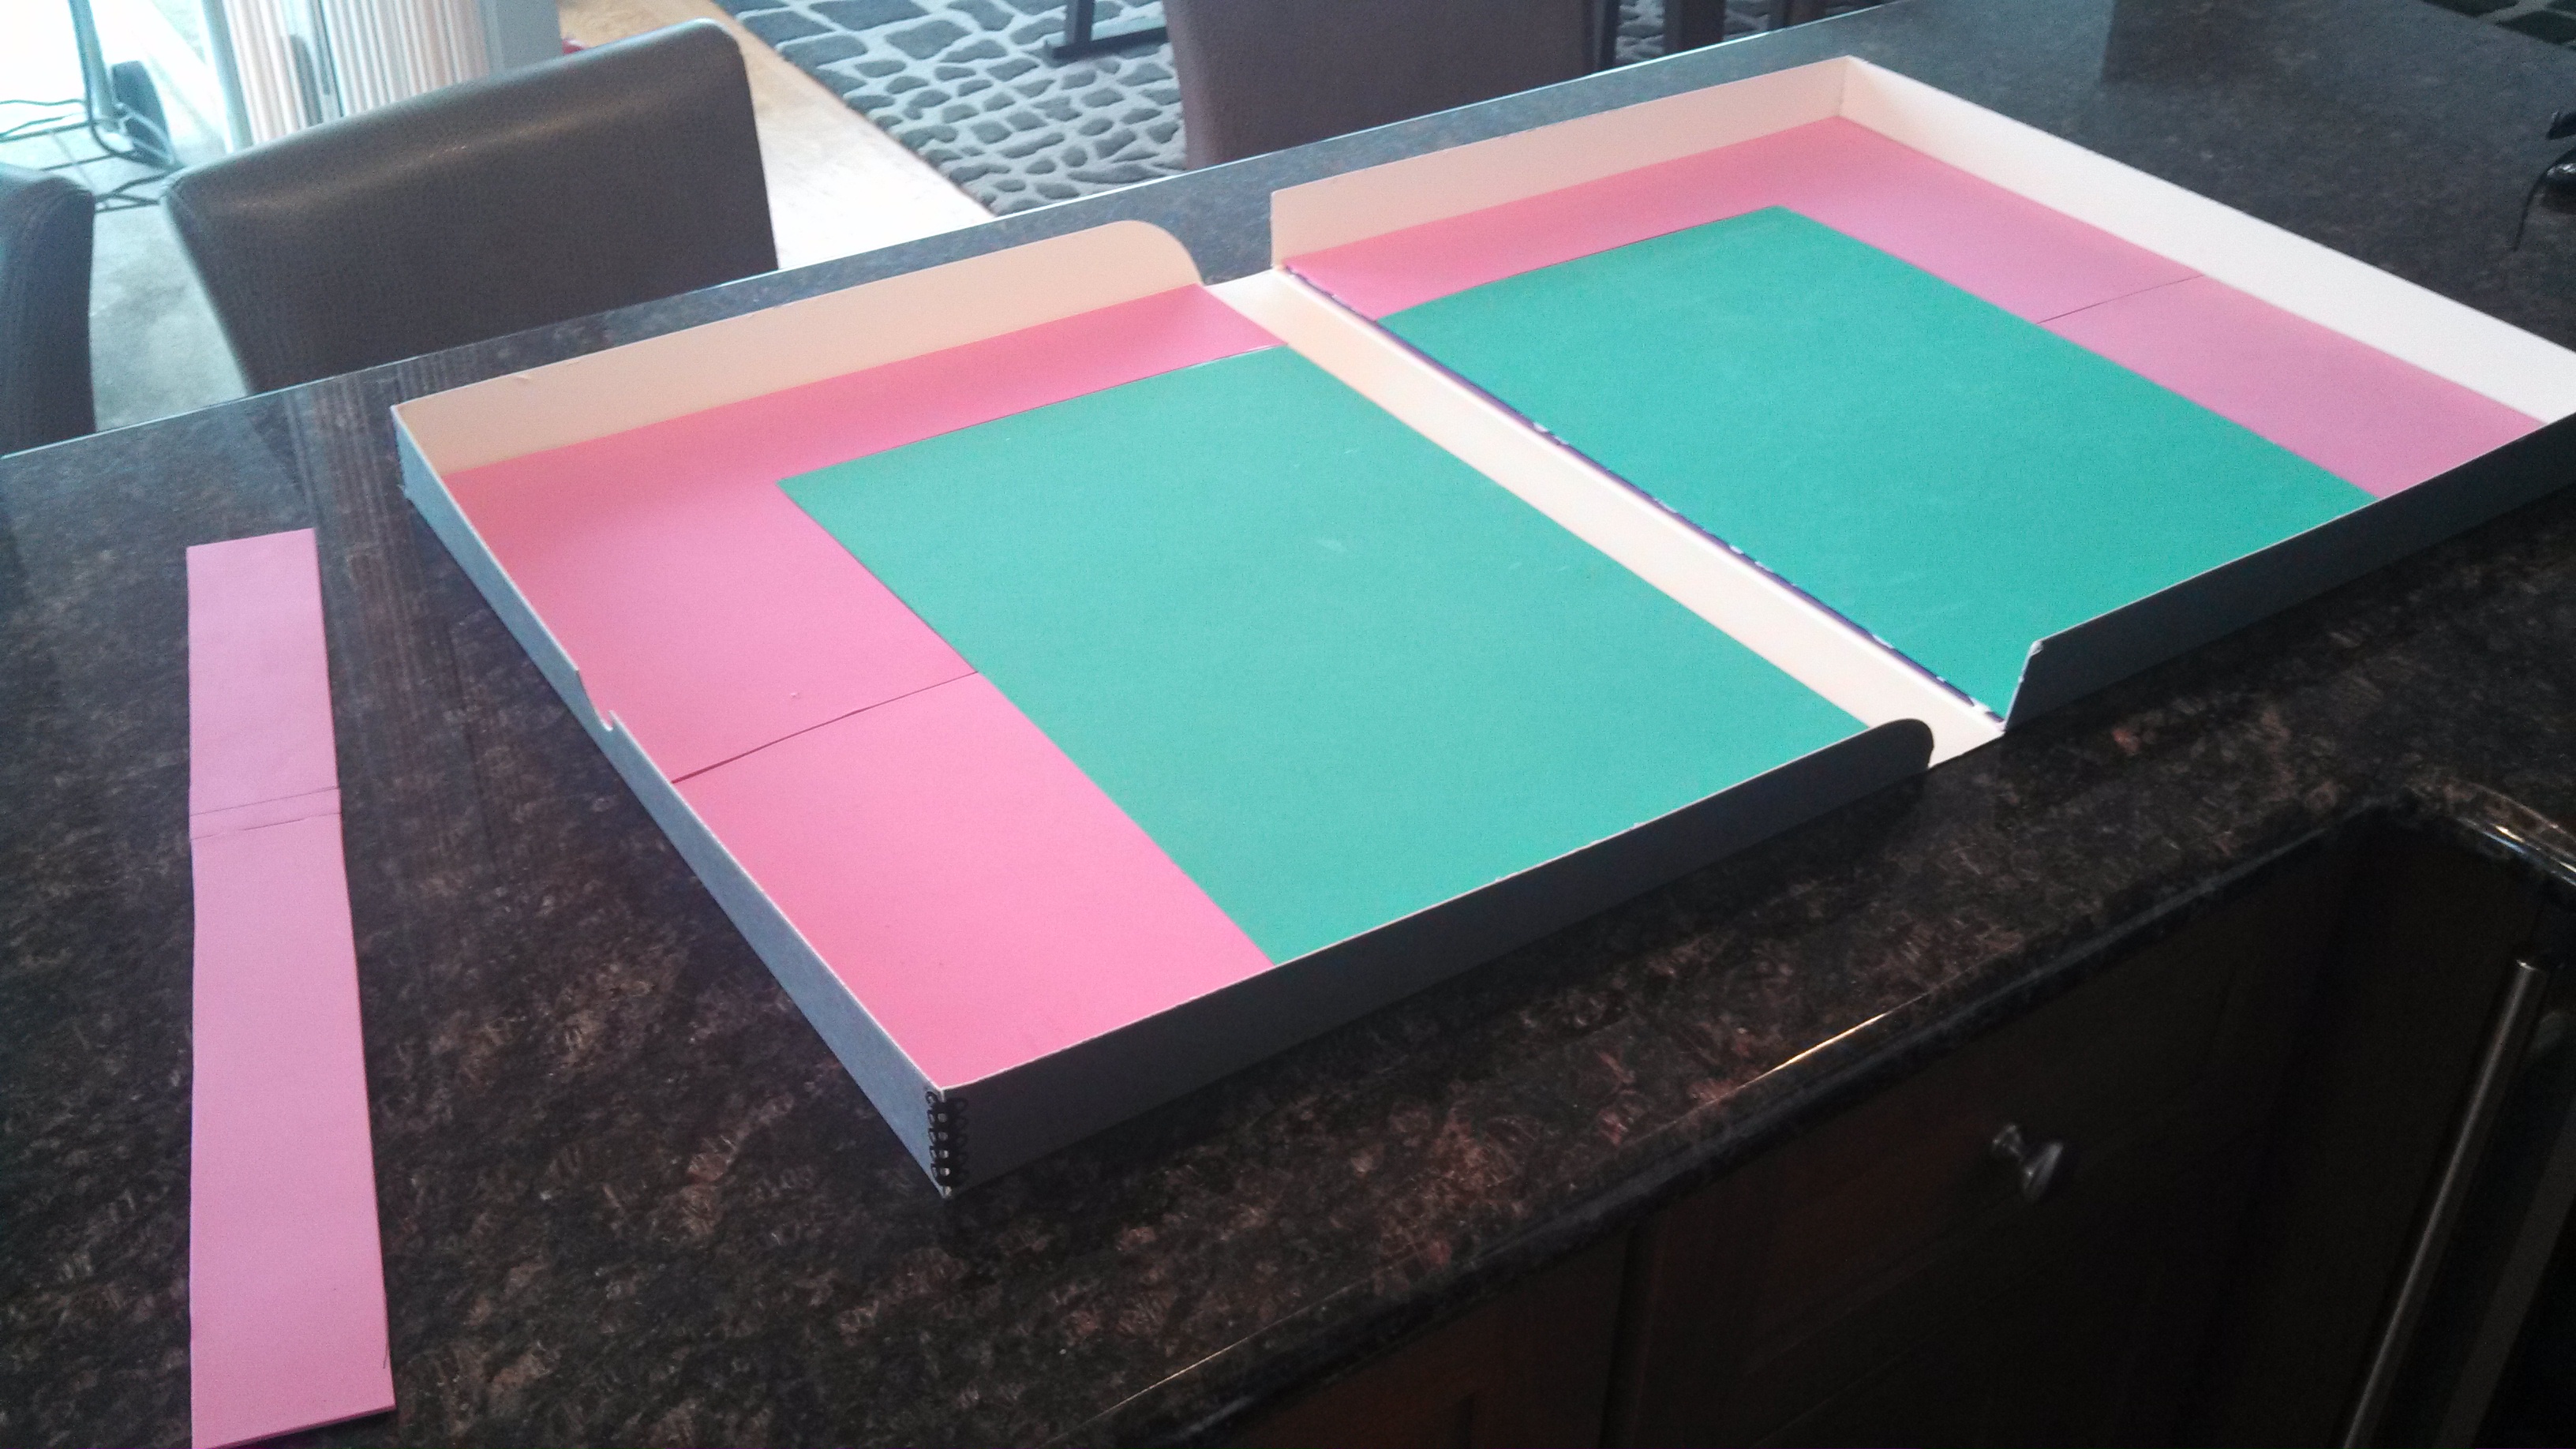
The first step was to find a suitable box. My plan was to convert any game from inches to centimeters and end up with a roughly 4 x 6 foot game space. That means the box needed to be 34 x 20 inches. The plan was for the inside of the box to act as the playing surface. That meant the box had to lie flat. Pizza boxes and similar do not lie flat when the lid is tipped back. I did find an old keyboard box but it was too small. In the end I bought a box at an art supply store. It is for storing artwork and is ideal in all respects but one: it was not free. It cost $15, though I used a 40% off coupon, so was able to pick it up for $9. But it is perfect in every other respect. It measures 16 x 21 when closed and opens to a 35 x 21 usable game space. The corners are reinforced with metal bands and it is very sturdy. I decided it was worth the nine bucks. However, when it lays flat where the joints of the box are there are raised “ribs” of paper. I wanted a smooth battlefield. Having used the foamie material for my now defunct Gettysburg project, I decided to line the box with that. In the end it needed two layers. You need to make a removable piece for the spine area, but otherwise the foam is glued in place with Alene’s Tacky Glue. Here is my box after lining with scrap foamie material:
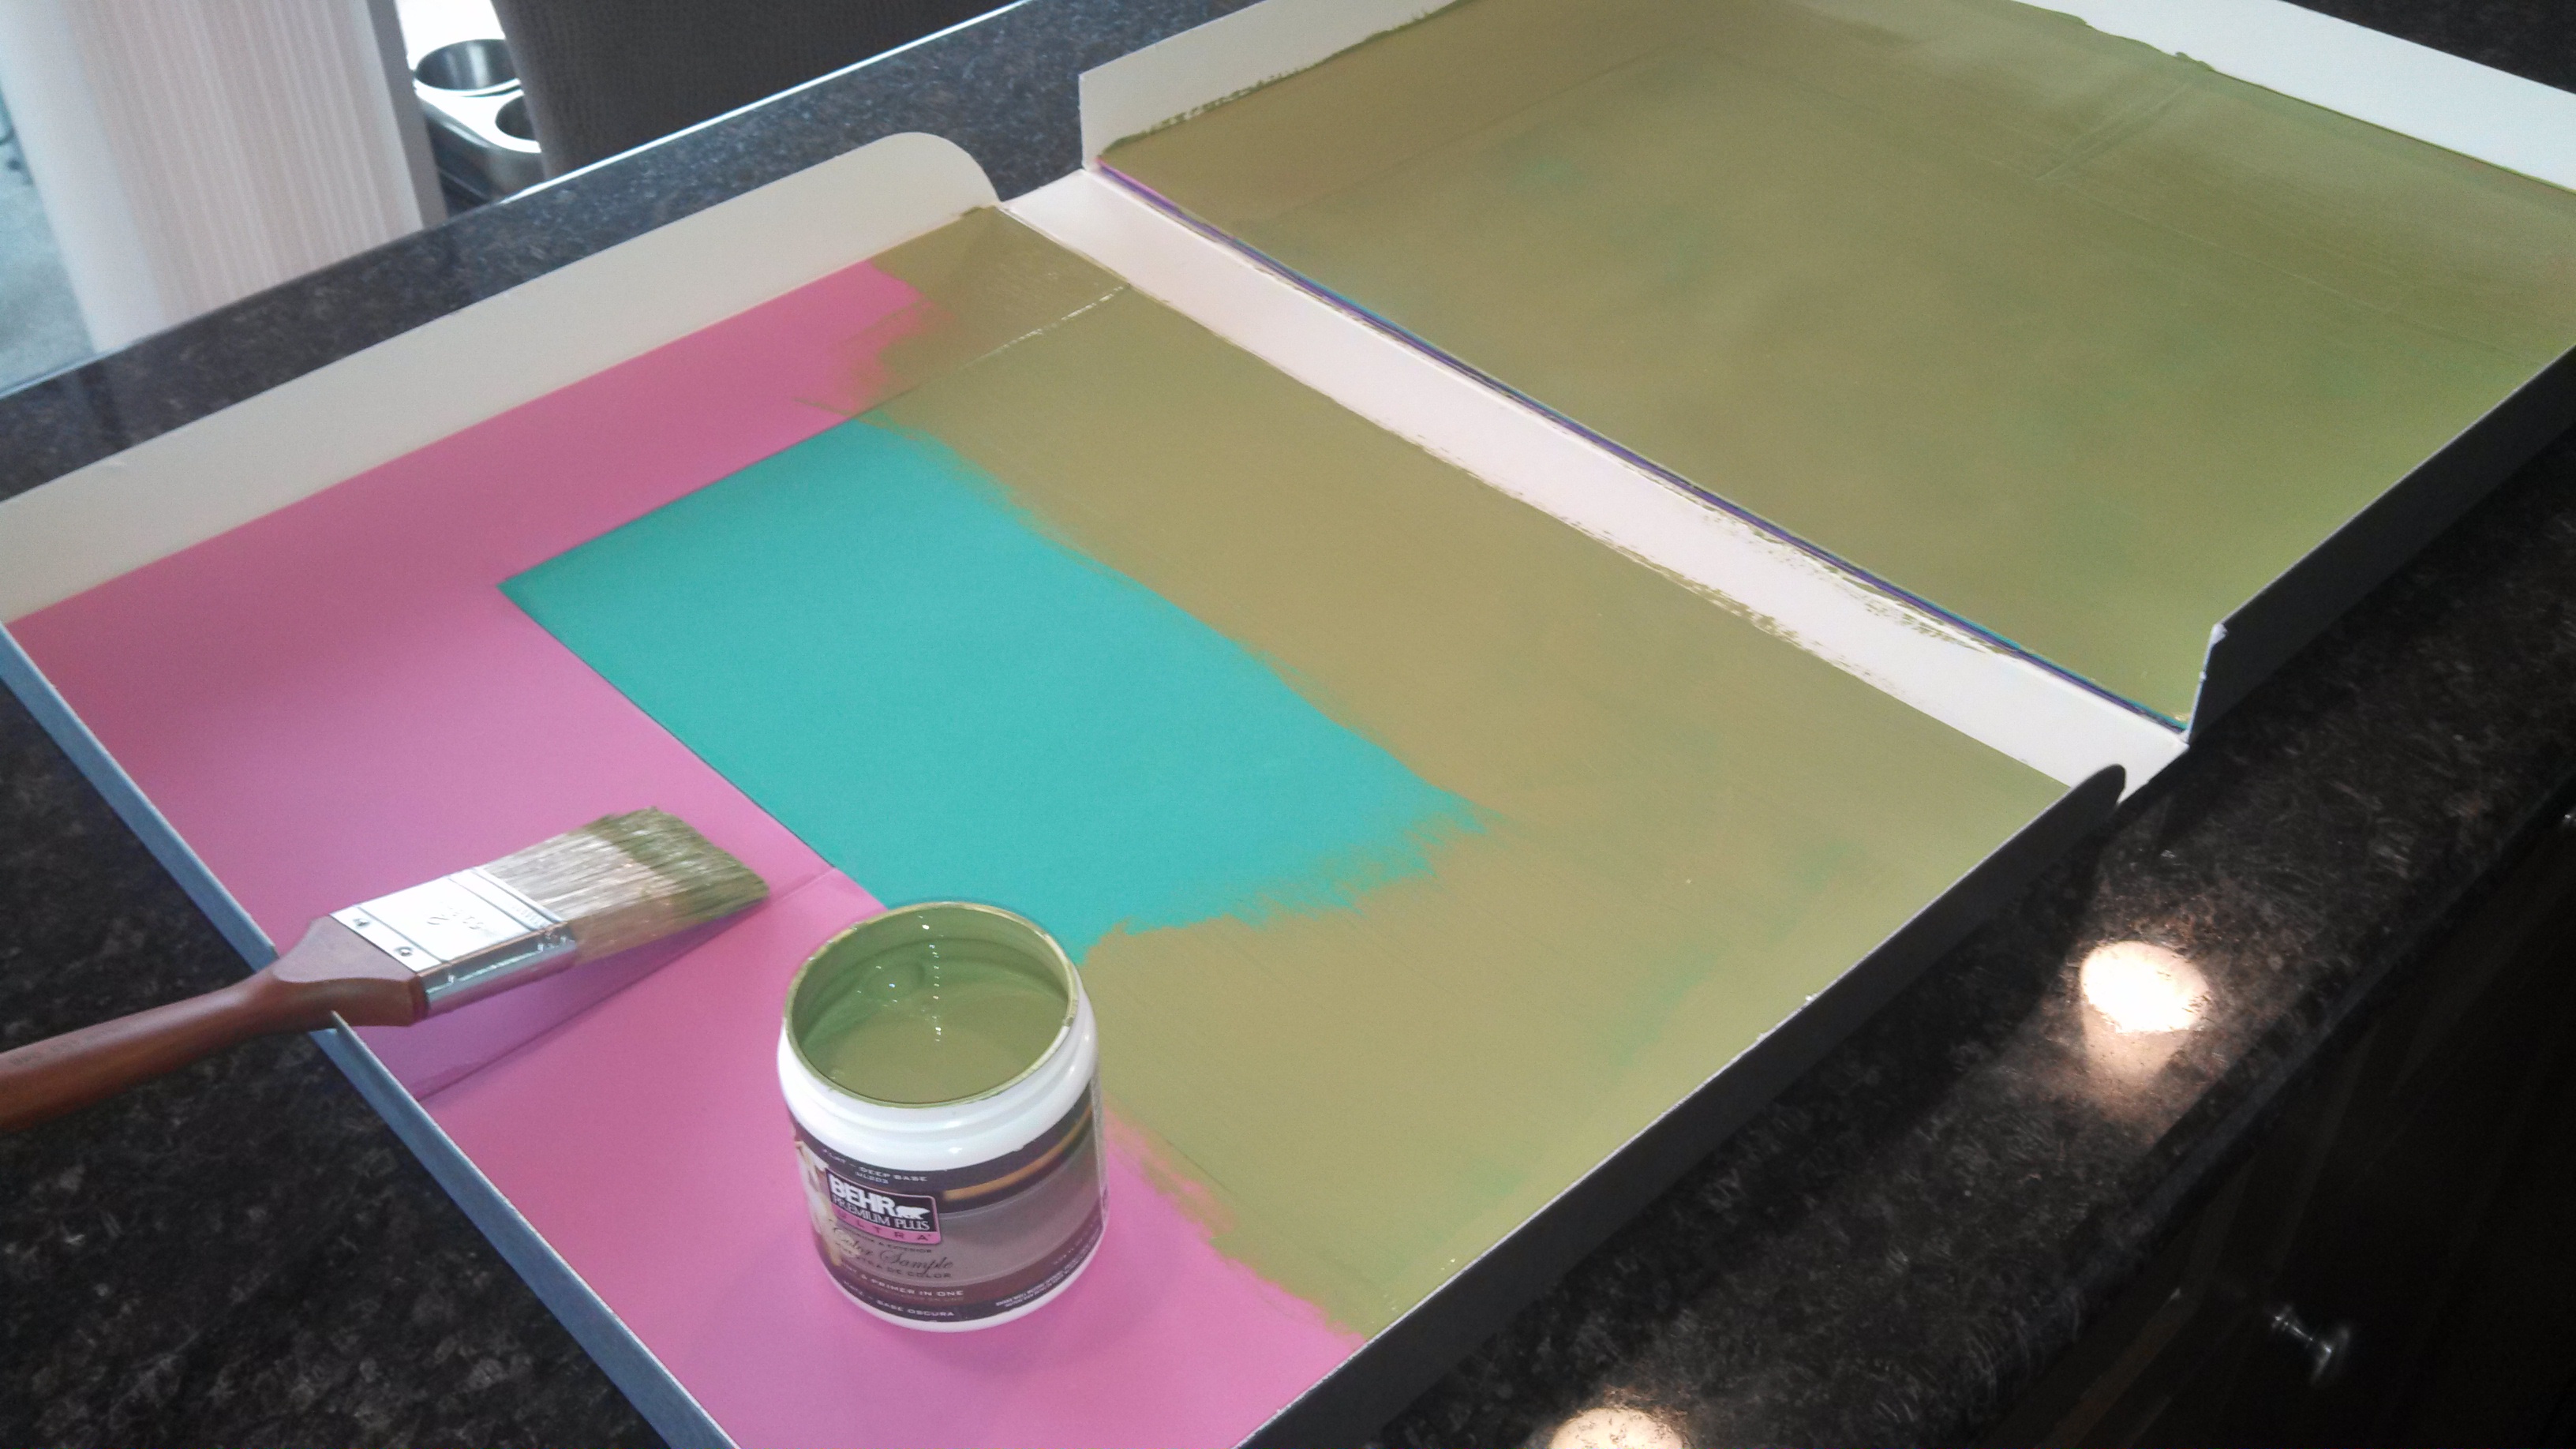
The pink strip on the counter is the removable piece for the spine (which you can see is still white). Obviously I was using scrap foamie from my daughter’s craft closet, hence the very non-military colors. Once I had built up the two layers and left them to dry VERY thoroughly, I looked through my paint drawer for a color to paint the foam. My choices were black or chocolate brown. I wanted a green, so it was off to the store. Since my local big-box DIY store is closer I stopped in and bought an 8 ounce sample size of ordinary house paint. I chose a bright olive green. Price: $3 (total expenditures so far: $12). I used a 2” brush to lay down the first coat. Here you see the work under way:
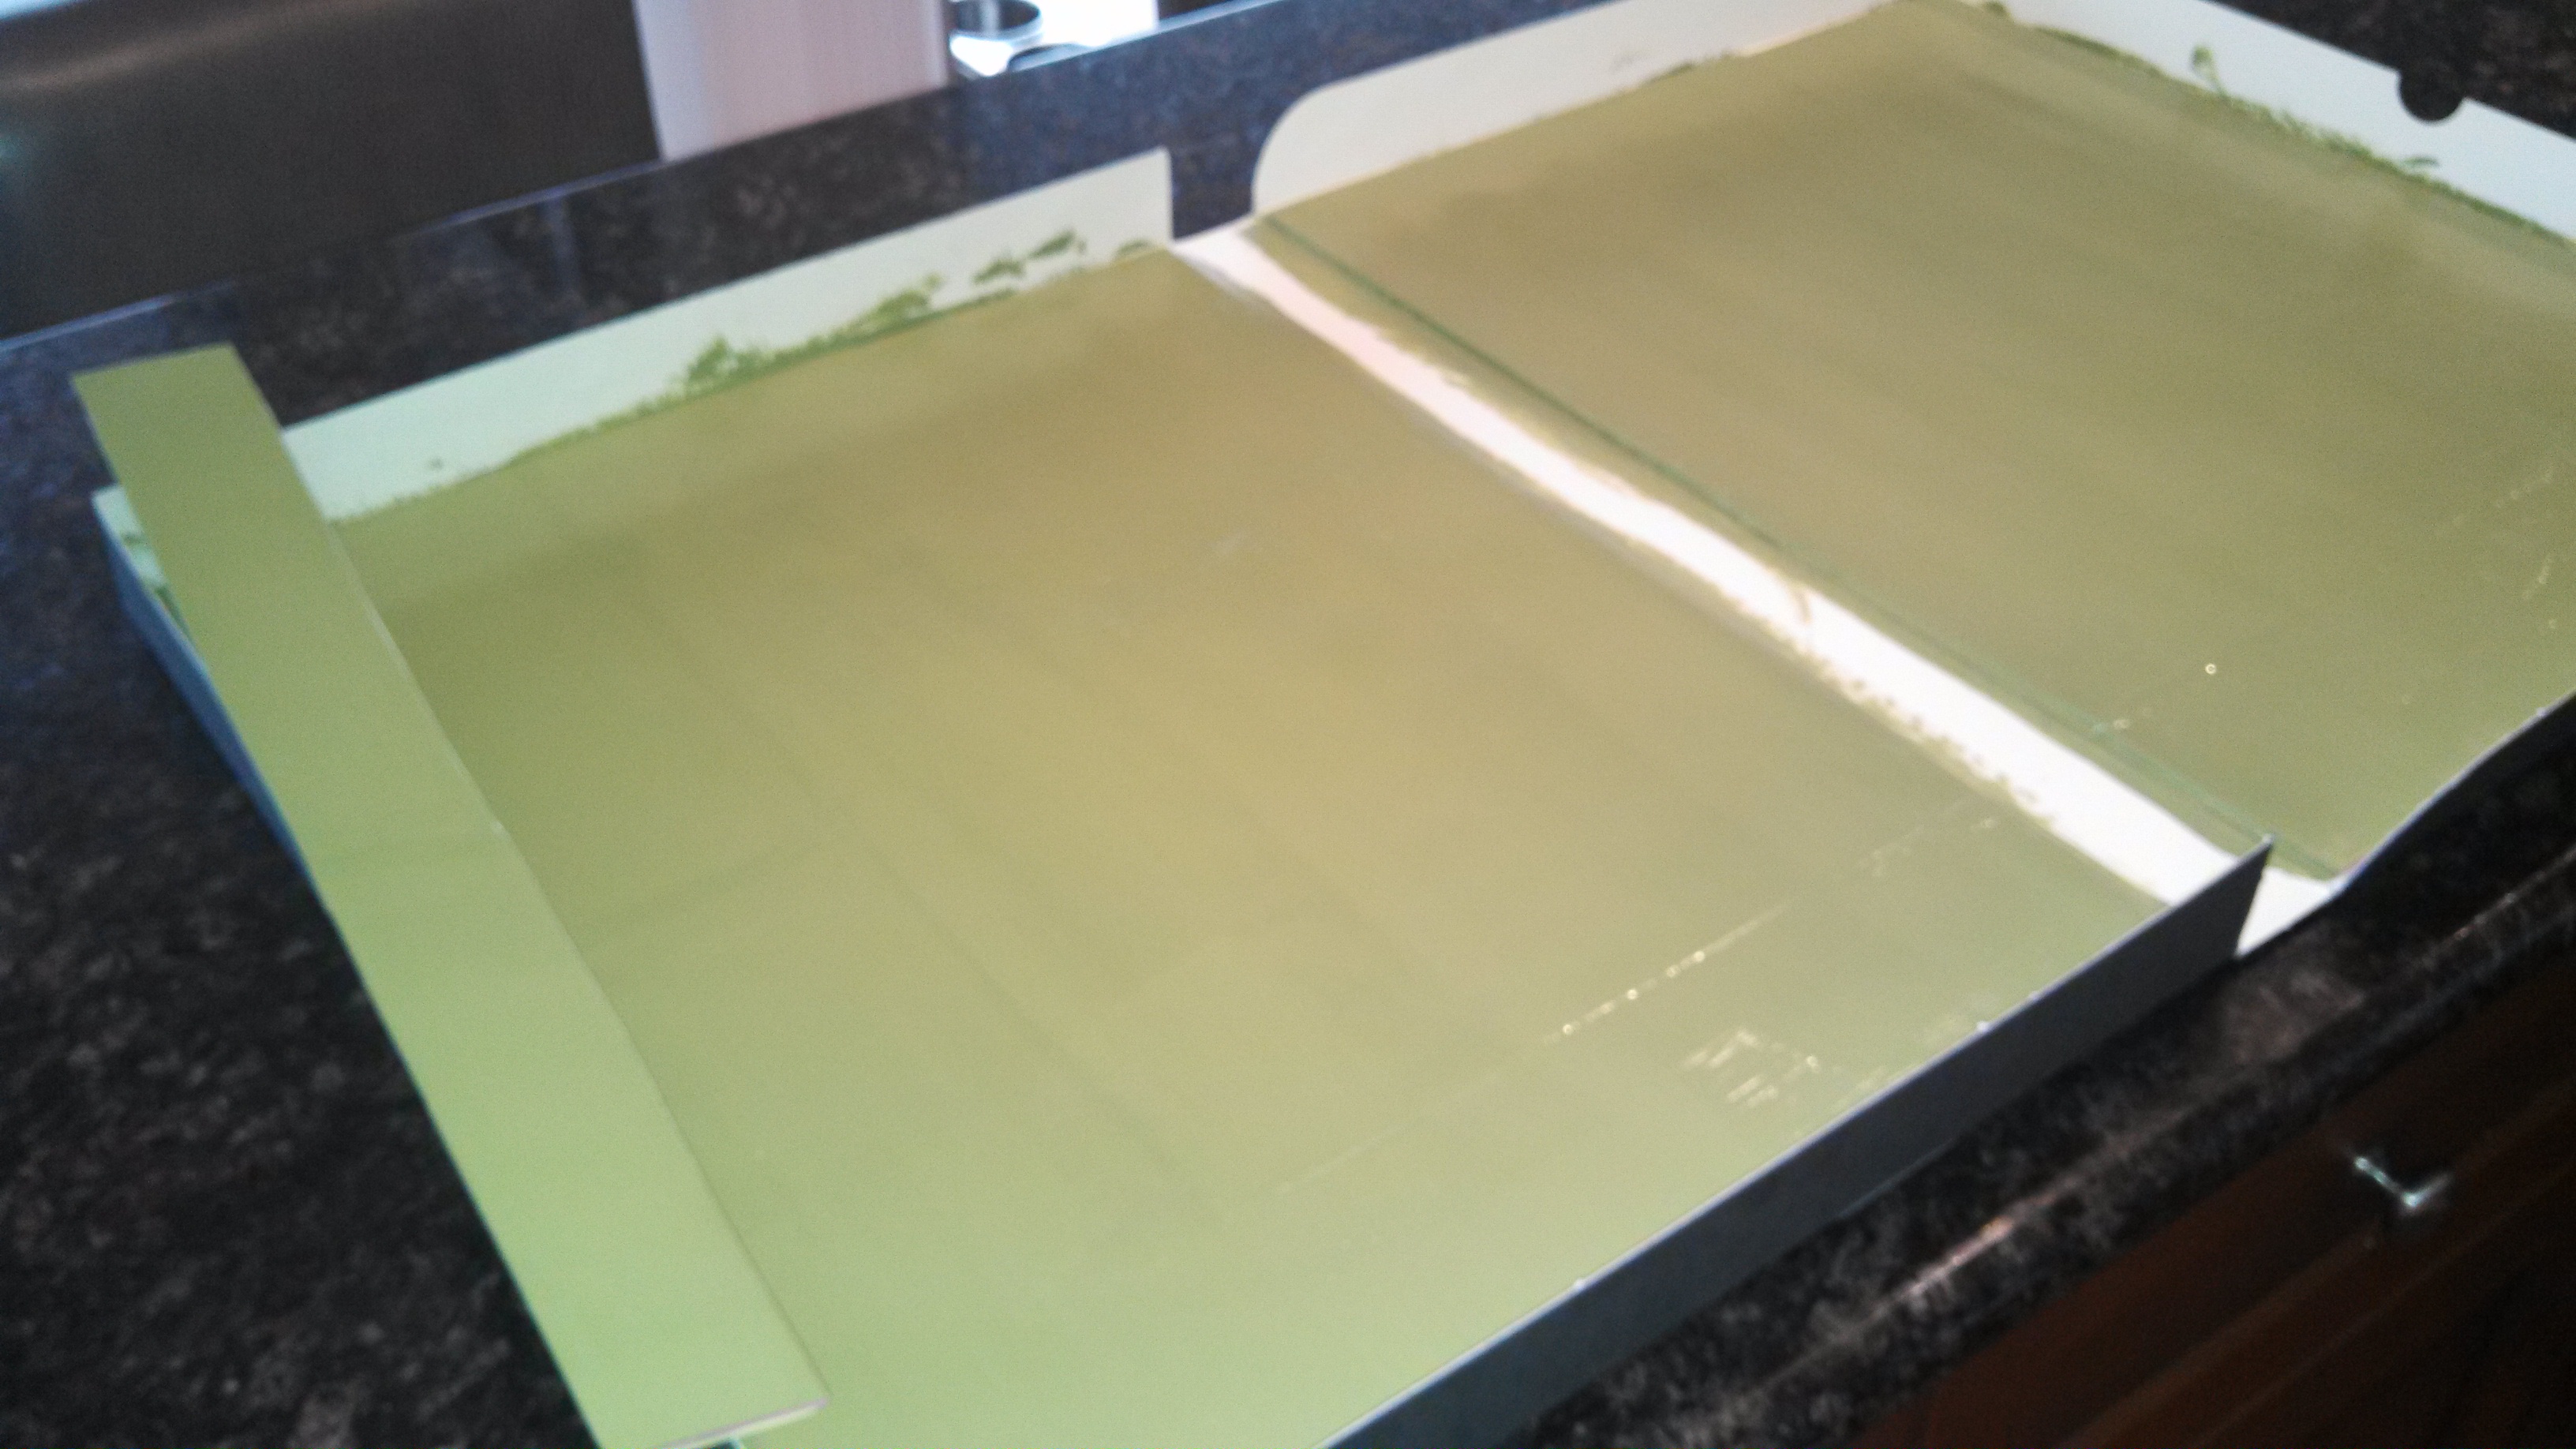
You can’t see it in the pictures, but the foam colors were really showing through, so it was clear a second coat would be needed. If I had wanted to save one coat, I could have spent a few dollars and bought green foam. The result would have been a nice mottled effect of bright Kelly green showing through the olive. Brown would also probably have looked nice as well. Here is the box after it has received two full coats of paint:
You can see the center spine piece has been painted as well. I also touched up all the edges so in case there is a gap at the spine it won’t be shocking pink! I have yet to touch up all the edges of the spine insert but I’ll do that once the top is dry. I’m not sure yet how I will treat the edges of the box. I don’t want them white with green smudges. I’m thinking of printing off some pictures of fields and sky and gluing them to the inside edges, like a railroad background. |
|
[Terrain: Part 1] [Terrain Part 2: Woods] [Terrain Part 3: The Hills] [Terrain Part 4: Towns] [Terrain Part 5: Rivers & Streams] [Terrain Part 6: Rivers II] [Final Touches] [Post Mortem] |
 |


