 |
|||
 |
|
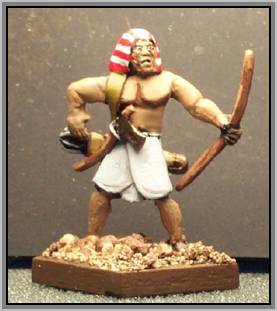
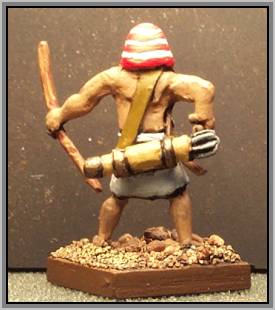
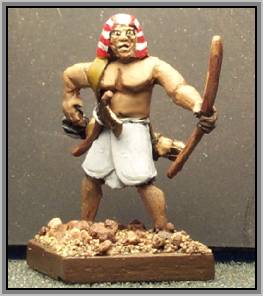
Figure Conversion – A Step-by-step Guide Introduction to the Project
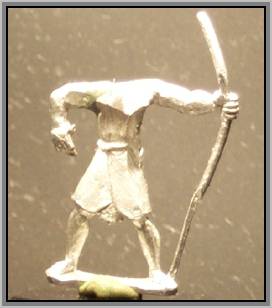
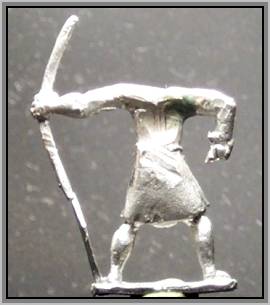
Figure 4C. With a hack or hobby saw, remove the quiver, the head, and the right arm from the figure. Be careful, here, to cause minimum damage to any of these parts! It’s better to slice the figure ‘frame’ (body), because the torso will be rebuilt in this project. Once removed, place the head and the quiver in a container or zip-lock baggie so that you won’t lose them. Using a Dremel7 tool and the sanding band/grinding post fixtures, remove the belts from the figure. Don’t be shy, here; it’s time for the ‘butchers’ to really shine! Once the belts have been removed, super-glue the arm into the position illustrated in figure 5A. and figure 5B.
Figure 5A. Prepared Figure (side)
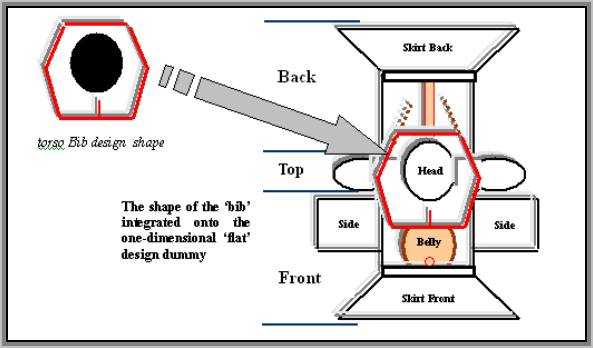
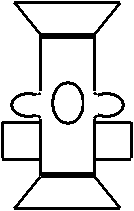
Figure 5B. Prepared Figure (back) Now that the figure is prepared, it’s time to get the technician prepared. Continue on to Step 2. Step2. Preparing the Technician What a mess!! Take a look at the butcher job you’ve just produced … you’ve just ruined that figure and wasted your $$ !! Bummer!! But wait, all is not lost. This figure can and will be restored to a work of art that will beautify any NKE unit on the table. The restoration will be accomplished by two means; (1) green stuff and (2) an understanding of the torso Bib. Green stuff (or similar) will be the restoration medium; the ‘torso Bib’ is the design guideline for this restoration. The torso Bib - a stylized approach to torso design. The author is a firm believer in the following concept: If ya can’t ‘see’ (visualize) it, ya can’t sculpt it! Hence, the ‘torso Bib’ and the ‘flat design dummy’. Torso Bib Is a term that the author coined several years ago to provide conversion ‘wannabees’ with a starting point to visualize and design a stylized shape that surrounds the upper torso. This shape starts from the lower pectorals (front), up and around the shoulders (top), and down and around the shoulder blades (back). figure 6. Illustrates the simple geometry of this shape in one dimension.
Figure 6. The torso Bib and the flat design dummy Viewing this flat design dummy ‘from the front’ yields the illustration in figure 7.
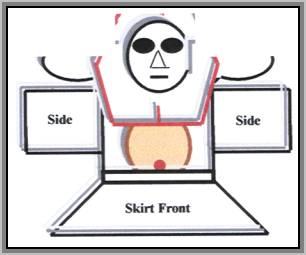
Figure 7. Front View of flat design dummy It is the author’s firm conviction that any serious conversion technician must master this basic shape to be successful with most intermediate-level conversions. Look at this shape; visualize it; go onto the astral with Shirley if that helps; meditate on it, sleep on it; whatever it takes, put this shape firmly in your mind! Working with the ‘Green Stuff’. It is beyond the scope of this article to provide a tutorial on the many aspects of this common design medium. However, if you are relatively new to using this ‘stuff’, the following practice exercise, which has proven helpful to others in the past, may help you as well.
A note on the Green Stuff. In the author’s experience, the working time for this medium is 30-to-45 minutes. The author applies and smoothes the stuff in the first 10-to-15 minutes and then adds the detail about 20 minutes after mixing. The setup time is 24 hours, although this can be accelerated to about 5 hours if you place the figure under a 100 watt lamp for that time (heat speeds up the cure time).
|
 |
