 |
|||
 |
|
Step 3. Applying the Green Stuff
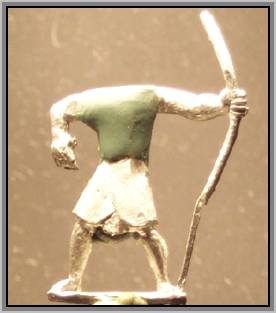
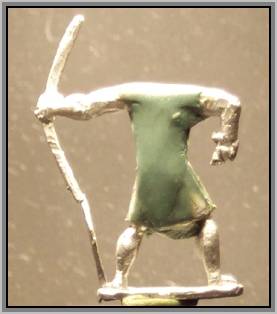
Using your wetted finger and the stick distribute and smooth the medium, starting at the front, working around the top and sides, and then down the back towards the rear skirt. See figures 10A. and 10B.
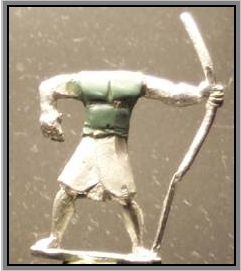
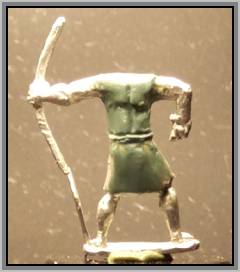
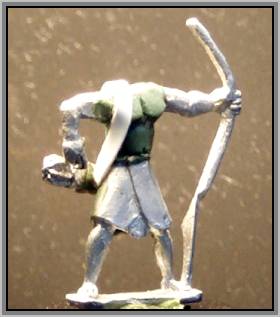
Figure 10B. Initial Application (back) Note that the ‘excess’ medium has been move down onto the rear skirt where it can be easily ‘smoothed’ and/or removed at-will. Continue the conversion with Step 4. Using the wetted flat end of the stick, indent the shape of the torso Bib. Take this same tool, apply at an angle underneath the bib outline, and gently pull down the excess green stuff to begin the contour process. Smooth your work with your wetted index finger as you pull down each section underneath the Bib. For smoothing on the sides of the torso, try the flat end of the stick or the spatula. Once the torso Bib is shaped and contoured, use the wetted flat end of the stick to indent the shape of the Belly. Pull away the excess green stuff from this shape with the stick and smooth the contour. The Belly contour should be subtle, so subtle that it’s almost unnoticeable. With the sharp end of a toothpick or dental tool, give the figure an ‘innie’ belly button. And don’t forget to sculpt-in the backbone recess running down the center of the back! Now it’s time to shape/re-shape the ‘belt’ or ‘draw string’ at the top of the skirt. This task will probably require several tools, including differently-shaped dental tools, a sharp-bladed hobby knife, and the flat end of the stick. When the initial contouring and detail is complete, let the green stuff setup for 12-to-24 hours. The conversion should look similar to figure 11A. and figure 11B.
Figure 11B. Initial Contours (Back)
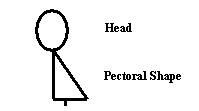
While waiting for the green stuff to cure, clean up and rebuild the quiver. Continue the conversion with Step 5. Step 5. Stylizing the Pectorals This step will modify the ‘shape’ of the pectorals so that they form an angle from the bottom up towards the top. The shape of this angle, from the side, is illustrated in figure 12.
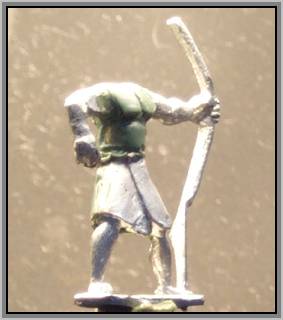
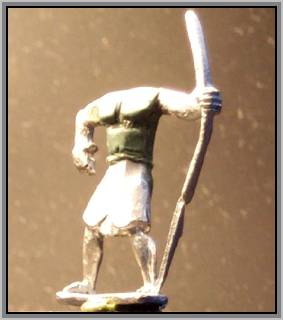
To accomplish this stylized shape, cut off and mix up a tiny amount of green stuff and place a small piece at the bottom of each pectoral muscle. Be careful not to let the medium ‘fill-in’ the separation contour between pec and belly. Using your wetted finger and/or the stick, gently angle the green stuff up toward the head area. Smooth carefully to integrate the new shape into the existing conversion. Figures 13A. and 13B. illustrate the stylized conversion.
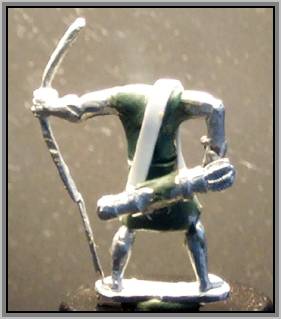
Figure 13B. “Chesty” Two Let the green stuff cure for 4-to-8 hours and then continue to Step 6. Cut a thin strip from the .020” thick soft styrene. This strip will be used for the ‘strap’ to ‘sling’ the quiver across the back of the figure. How wide should I make the strap? Don’t know. Trust the force, Luke … Super-glue the quiver onto the rear skirt, across the buttocks-area. Let the super-glue cure and then take a small amount of green stuff and fill any gaps between the skirt and the quiver. You’ll need to use a dental tool and the stick to effectively accomplish this. Let the green stuff cure for at least two hours. Since the super-glue is not a metal-to-metal contact, the real strength of the bond is provided by the green stuff ‘filler’. Practice ‘laying’ the styrene strap from left side back of quiver over the shoulder, down the front/side of the figure, and onto the right-side (back) of the quiver. Practice this until you can do it repeatedly and get it ‘just right’. Then take the styrene strap and, starting from the back, super-glue the strap to the left side of the quiver and up the back. Stop short of gluing the strap over the shoulder. Let the glue cure for about 10 minutes. Now super-glue the strap up-and-over the shoulder, being careful to apply sufficient pressure on the strap to ‘re-contour’ it to fit the body shape. Let the glue cure for about 10 minutes. Finally, super-glue the strap over the chest and down under the arm to the ‘right side’ of the quiver. Again, be careful to apply sufficient pressure on the strap to ‘re-contour’ it to fit the body shape. Let the glue cure for about 10 minutes and then use green stuff to ‘join’ the strap to the quiver and to fill-in any gaps. Figures 14A and figure 14B illustrate the results of this step.
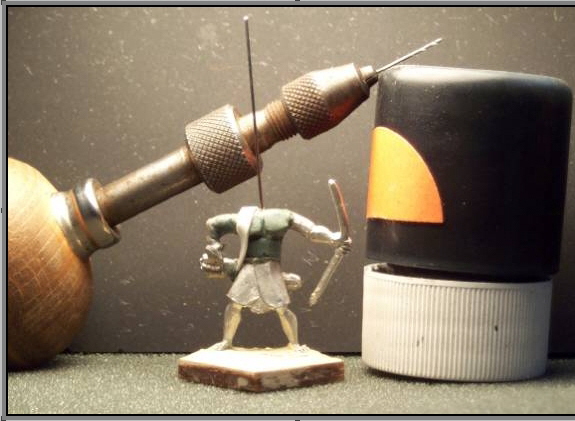
Let the figure setup over night and continue with Step 7. Step 7. Pinning the Head and Rebuilding the ‘Helmet’ Cut about a one inch piece of .020” diameter ‘piano wire’. With a Pin Vise and a .016” diameter bit, drill a hole into the top center of the figure and in the center bottom of the detached head. Since the wire is slightly thicker than the hole, it will have to be ‘forced’ into the hole using pliers and a ‘twisting’ motion. Glue the wire into the top of the figure. See figure 15.
Figure 15. “Pinning” Cut the wire so that the head just fits onto the body, and super-glue in place. Let the glue cure for about 5 minutes. Fill in around the head with green stuff, using a small dental tool to fill-in those ‘hard to reach’ places. Rebuild the headscarf with green stuff to suite your tastes, smooth with the finger and let the figure setup overnight. See figures 16A. and 16B. (next page) for the semi-finished conversion. Note that for this conversion, the author has ‘stylized’ the headscarf into a padded ‘textile’ helmet. Continue on to Step 8.
|
 |
