 |
|||
 |
|
Step 8. Final Touchup
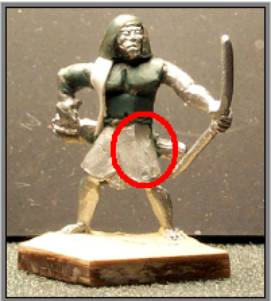
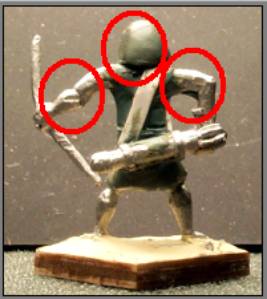
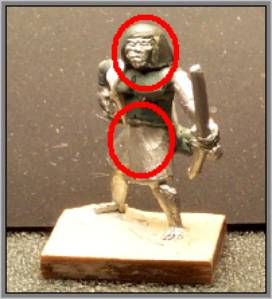
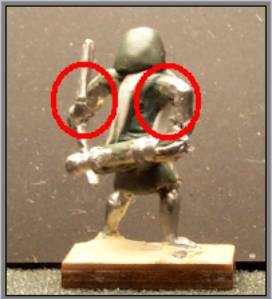
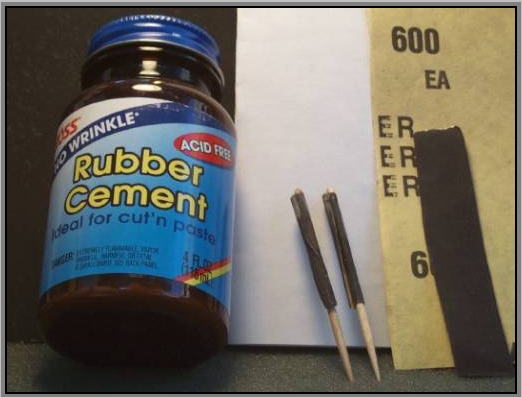
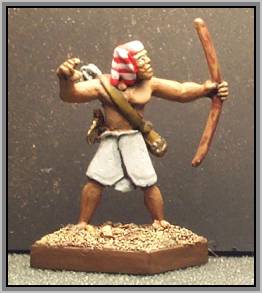
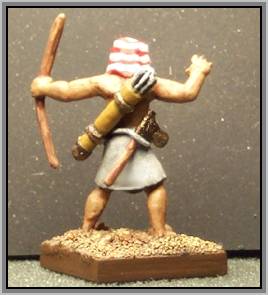
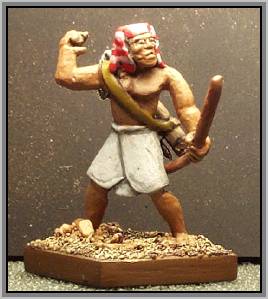
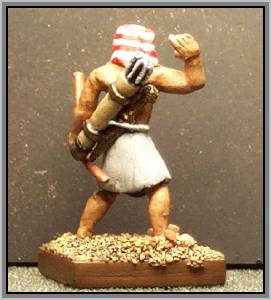
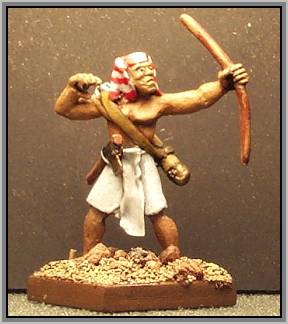
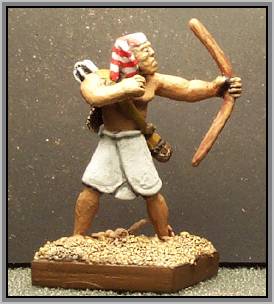
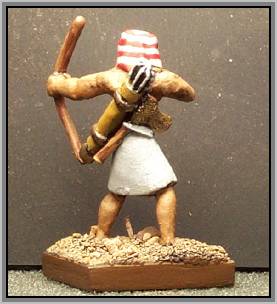
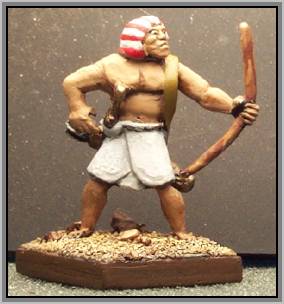
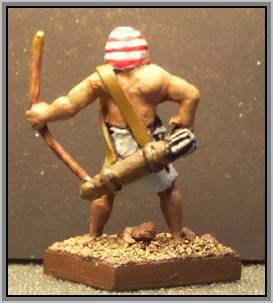
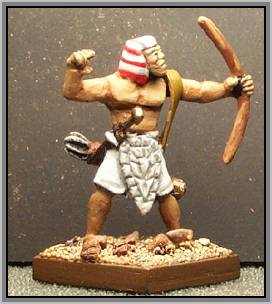
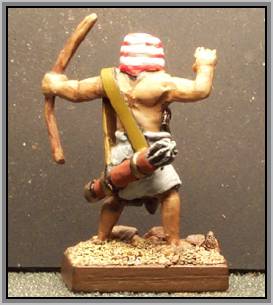
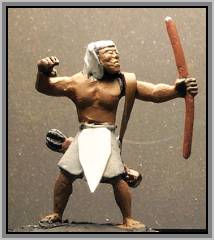
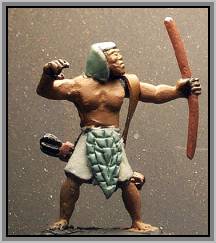
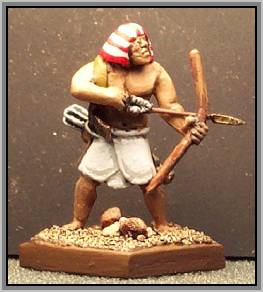
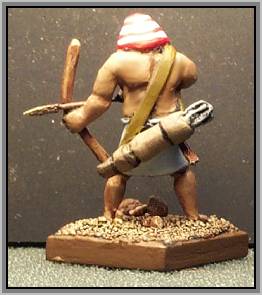
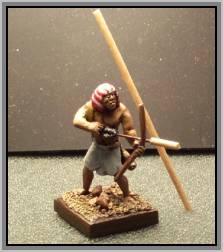
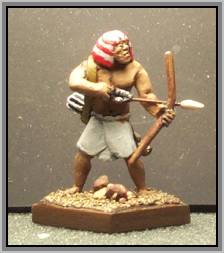
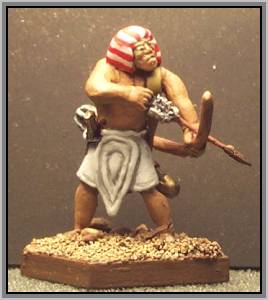
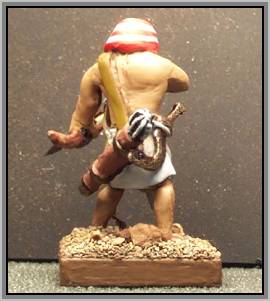
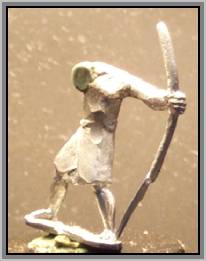
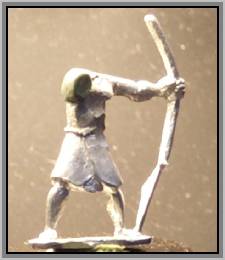
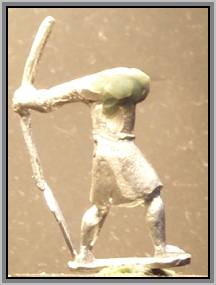
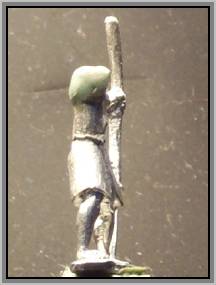
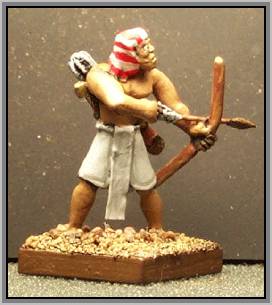
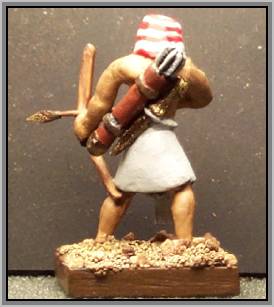
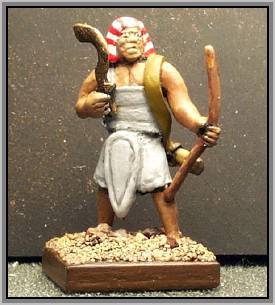
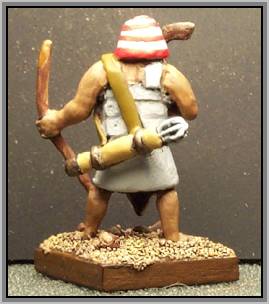
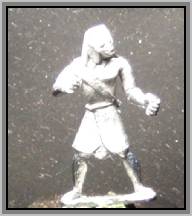
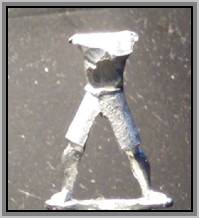
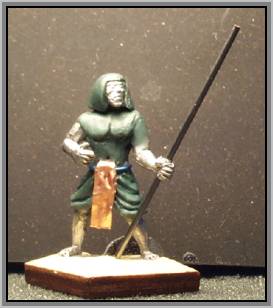
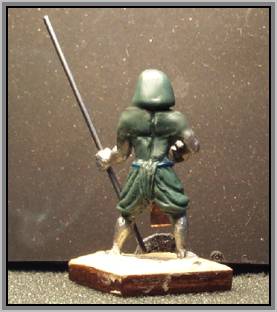
Figure 16A Cleanup Requirements. Figure 16A. Figure cleanup requirements as indicated in figure 16A. involve adding some green stuff to fill-in and smooth the skirt. Figure 16B. Figure cleanup requirements as indicated in figure 16B. involve green stuff fill-in and smoothing on the left forearm and the right tricep. Also, the back (bottom) of the ‘helmet’ should be ‘squared off’ carefully using a Hobby knife. Figure 16C. Again the need to ‘fix’ the skirt is evident from this figure. Also, the front of the ‘helmet’ may need some careful and light sanding with a very fine grade of sandpaper. In cases like this, it’s best to paint the figure first, and then determine if the sanding is required. Figure 16D. Again the cleanup requirements for green stuff fill-in and smoothing on the left forearm and the right tricep are evident. Also, the mid-to-lower back/side seems a little rough and require some careful ‘smoothing’ with sandpaper. In order to reach this area, you’ll have to ‘improvise’ a sanding tool. See figure 17. This tool is nothing more that a strip of sandpaper ‘rolled around’ a toothpick while being fixed into place with Rubber Cement.
Figure 17. Improvised ‘bit-sander’ This concludes the step-by-step guide to figure conversion. The author completed this figure conversion in about 90 minutes (excluding setup/curing times). Additional conversion results are presented on the following pages of this article. Figure Conversion Examples – Beginner This section presents three simple conversions using Beginner-level techniques. Beginner Example 1 – Front-rank Pose. This simple conversion ‘technique’ adds a sidearm weapon to the converted figure. The subtle addition of a weapon can significantly enhance figure variety by (1) adding a different weapon to each figure, (2) by placing the same weapon at/on a different position of the figure, and (3) a combination of a different sidearm at a different position. The New Kingdom Egyptian (NKE) warrior was armed with one of three common sidearm weapons; (1) the khepesh (khopesh) or ‘sickle sword’, (2) a small axe, or (3) a knife blade. For the conversions in this article, all three weapon-types were obtained from the Hourglass Miniature’s Weapons Pack, with a couple of QT ‘Biblical’ axes added into ‘the mix’. Sidearm addition to the NKE figures is a three-step process;
For this conversion, the ‘belt’ or ‘draw string’ was made from 26AWG tinned copper wire. The other conversions in this article formed the ‘belt’ from 28AWG or 30AWG wire. Beginner Example 2 – Rear-rank Pose. figure 19A. and figure 19B. Illustrate the first conversion, which is nothing more than a “bend ‘n twist” example where the bow-arm has been ‘forced’ downward and towards the back and the ‘free-arm’ has been bent ‘up and backwards’. In keeping with the theme of the article, this conversion provides an appropriate rear-rank pose. Both “bend ‘n’ twist” operations were accomplished with simple ‘thumb pressure’. Note the addition of the knife blade across the back, following the ‘lines’ of the quiver. Time to complete: ~5 minutes Beginner Example 3 – Front-rank Pose. figure 20. Illustrates the second conversion, which is a combination of (1) a “bend ‘n twist” modification where the bow-arm has been ‘forced’ upward at an angle, the ‘free-arm’ has been bent ‘inward’ at the elbow, and (2) a uniform modification that added a ‘sash’ to the skirt. In keeping with the theme of this article, this conversion provides an appropriate front-rank pose. Note the addition of the Egyptian axe to the right side (waist) of the figure.
The re-positioning of the ‘free-arm’ required a small ‘incision’ by a hobby saw (with a fine blade) in the ‘fold’ opposite the elbow. This ‘incision’ allowed a more ‘radical’ and defined bend of the forearm towards the upper arm. The ‘sash’ addition to the skirt was made from a strip of light copper that was cut ‘to-fit’ and glued into place. Copper was selected in order to be able to add ‘creases’ and ‘folds’ to the sash. The light copper sheet (roll) was obtained as part of an embossing kit produced as/by ArtEmboss 7. Time to complete: ~15 minutes Figure Conversion Example – Intermediate Figures 21A. and 21B. illustrate a figure conversion based upon the cut-pin-and-reposition technique (Intermediate). The ‘free-arm’ was removed with a hobby saw at the shoulder and re-attached to the figure in a ‘drawing the bow string’ position. In keeping with the theme of this article, this conversion provides an appropriate front-rank pose. Note the addition of the small axe across the back, following the ‘lines’ of the quiver.
Although this is a simple Intermediate-level conversion, it does require that (1) the arm be pinned back onto the body, and (2) the shoulder-to-arm gap (which is a considerable distance) be filled and rebuilt with green-stuff. The pinning process requires the use of a Pin Vise/drill-bit to drill a small hole in the body (shoulder/arm socket) and in the detached arm. The diameter of the hole should be less-than-or-equal-to the diameter of the ‘piano wire’ that will ‘fix’ both parts together. A small piece of this piano wire is cut to a length about twice the depth of the arm-socket hole. This piece of wire is then ‘super’-glued into the arm socket and let stand until ‘cured’. Then, through trial-and-error, the piano wire is clipped until both parts ‘fit together’ when the wire is inserted. The detached arm is then super-glued into place. In this conversion, the author chose not to rebuild/reposition the shoulder (see Combined Example #4, page 28) to implement this pose. Time to complete: ~30 minutes Figure Conversion Examples – Combined This section provides five conversion examples that require a combination of both the Beginner-level and the Intermediate-level conversion techniques. Combined Example 1. See figure 22A. and figure 22B. This first combined example illustrates a figure conversion based upon the combined techniques described in the step-by-step guide. Note that the right (free) arm was removed and ‘pinned’ into place, the left (bow) arm has been repositioned using ‘thumb’ pressure, and the quiver ‘strap’ has been placed over the left (bow-arm) shoulder in this pose. Note the addition of the knife blade to the right side (waist) of the figure.
Figure 22A. Rear-rank Pose Figure 22B. Rear-rank Pose In keeping with the theme of this article, this conversion provides an appropriate rear-rank pose. Time to complete: ~90 minutes Combined Example 2. See figure 23A. and figure 23B. This second combined example illustrates a front-rank figure conversion based upon some of the combined techniques described in the step-by-step guide. Note however, that no body ‘parts’ were removed/replaced and that the rear (free) arm was repositioned using ‘thumb pressure’. Note that the quiver ‘strap’ has been placed over the left (bow-arm) shoulder in this pose. A knife blade has been added to the right side (waist) of the figure.
Figure 23A. Front-rank Pose Figure 23B. Front-rank Pose Note the addition of the padded armor “triangle” protecting the lower abdomen and groin area. This armor was produced by cutting out a ‘form’ from the .016” thick styrene plastic, gluing the form in-place, and then building the shape/contour of the padded (textile) armor out of green stuff. See figures 24A. and 24B. Figure 24A. Armor Form Figure 24B. Armor Green-stuff Time to complete: ~50 minutes Combined Example 3. See figure 25A. and figure 25B. This third combined example illustrates a rear-rank figure conversion based upon the combined techniques described in the step-by-step guide. Note that the right (free) arm was removed and ‘pinned’ into place and the quiver ‘strap’ has been placed over the right (free-arm) shoulder in this pose. In this conversion, the author chose not to rebuild/reposition the shoulder (see Combined Example #4, page 29) to implement this pose. Note the addition of the axe on the right side (at the waist) of the figure.
Figure 25A. Rear-rank Pose Figure 25B. Rear-rank Pose The notched arrow is a .020” diameter piece of ‘piano’ wire. The fletching is green stuff. The arrowhead was made from a piece of .050” diameter wooden dowel, drilled and glued onto the shaft, and cut/sanded to-shape. The arrowhead was ‘soaked’ in watered-down white glue several times throughout the process, and let stand until dry. See figure 26. and figure 27.
Figure 26. Arrowhead Start Figure 27. Arrowhead Shaped Time to complete: ~2 hours Combined Example 4. See figures 28A. and 28B. This fourth combined example illustrates a rear-rank figure conversion similar to the third example illustrated by figure 25A. and 25B, with the addition of the padded armor “triangle”. The conversion is based upon the combined techniques described in the step-by-step guide. Note that the head has been repositioned so that it is looking ‘down’ along the angle of the arrow (cut-‘n’-pin). The headscarf has also been somewhat ‘stylized’ into a padded ‘textile’ helmet. Note that a ‘khepesh’ has been added to the right side (waist) of the figure.
Figure 28A. Rear-rank Pose Figure 28B. Rear-rank Pose This pose does differ somewhat from figure 25, in that the shoulder has been rotated so that the right (free) arm might reach across the body. In order to accomplish this, the shoulder must be rebuild to reflect this 'rotation'. See figures 29A. and 29B.
Figure 29A. Rotated Shoulder 1 Figure 29B. Rotated Shoulder 2 The ‘mechanics’ of this modification are simple;
Although the mechanics are easy (chop, sand, and green stuff build), the angle and proportions are the difficult part. You’ll have to produce a shoulder that is ‘just right’ as to size and position. What size do I need? Trust the force, Luke …
Figure 30A. and 30B. provide different angles of this rebuild. Time to complete: ~3 hours Combined Example 5. See figures 31A. and 31B. This fifth combined example illustrates a rear-rank figure conversion similar to the third example illustrated by figure 26A. and 26B, with the addition of the ‘sash’. The conversion is based upon the combined techniques described in the step-by-step guide. Note that the shoulder has been rotated so that the right arm can cross over the body to pull the bowstring and notch the arrow. A knife blade has been added across the back, following the ‘lines’ of the quiver.
Figure 31A. Rear-rank Pose Figure 31B. Rear-rank Pose Time to complete: ~1.5 hours Figure 32A. and 32B illustrate the converted unit leader. This figure is wearing padded ‘textile’ armor and helmet, has a padded ‘triangle’ for lower abdomen/groin protection, and is carrying both a bow and a khepesh.
Figure 32A. Unit Leader Front Figure 32B. Unit Leader Back The steps required to perform this conversion, in sequence, were:
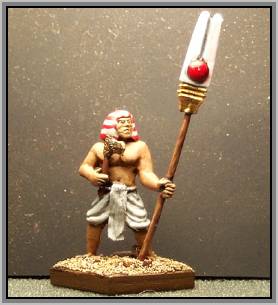
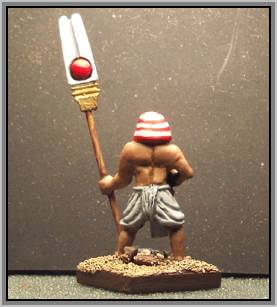
figure 33A. and 33B Illustrate the converted standard bearer. This figure carries the banner of Abydos; the ‘djed’ topped with a lunar disc and two plumes. His skirt has been ‘girded up’ around his waist for mobility. He carries an axe in his right hand.
This conversion began by bending the arms using small incisions with a hobby saw and then ‘thumb’ pressure to complete the positioning. See figure 34. The arms and the head were then removed. The straps were removed using the Dremel7 tool and the inner skirt was removed using a hobby saw. See figure 35.
figure 34. Arms Positioned figure 35. Figure Prepared The arms and head were then ‘pinned’ and super-glued onto the figure ‘frame’. Next, the torso was reconstructed, the skirt rebuild, the ‘belt’ or ‘draw string’ (26AWG wire) was glued around the top of the skirt, and the thin copper girding ‘sash’ cut to-shape and glued to the front of the skirt. Finally, the headscarf was reformed and ‘stylized” into a padded helmet. See figure 36A. and 36B.
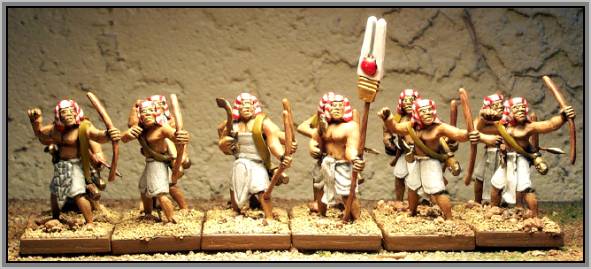
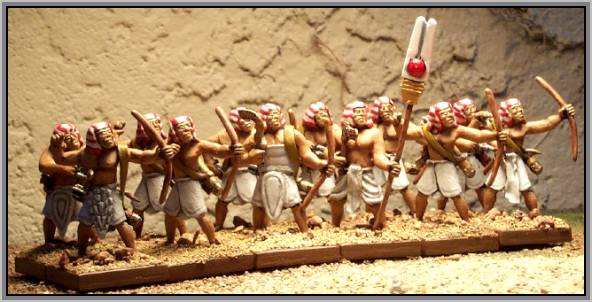
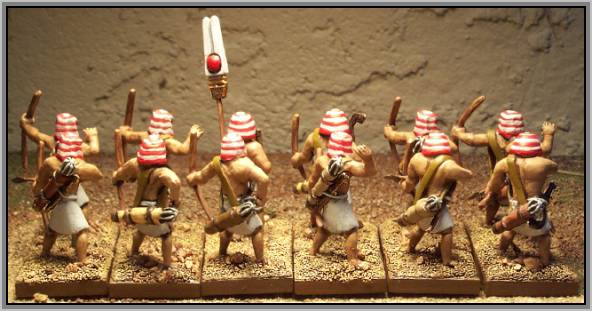
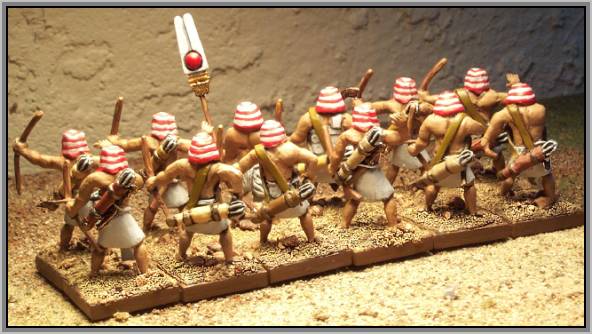
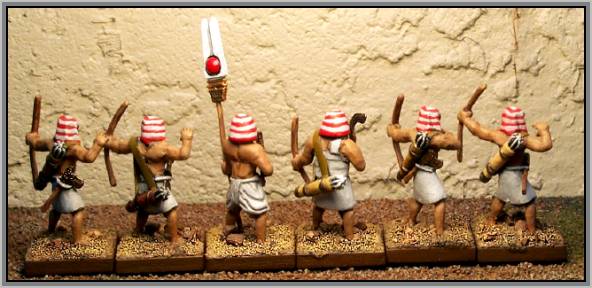
figure 36A. Green Stuff Front figure 36B. Green Stuff Back A hole was drilled through the left hand using the pin vice and the ‘djed’ plume standard (QT Models) was glued into place. As the final touch, the Egyptian axe was glued into the right hand. This completed the standard bearer conversion. The goal of this article was to take the same 12 figures and convert them into a single unit containing 10 unique rank-and-file figures, one captain, and one standard bearer. The period of the unit was defined as New Kingdom Egyptian, and the theme was specified to be unarmored archers with the front rank firing at the enemy and the rear rank in various poses ‘getting ready’ to shoot. The results of the conversion, or the ‘final unit’, are presented in figures 37. through 42.
If you have enjoyed this article and would like to obtain a high resolution .PDF file of the article, you may download it by clicking here. You may also contact the author.
|
 |
